Thanks to Orgain for sending me a full-size container of their Organic Protein™ & Greens Plant-Based Protein Powder in the Vanilla Bean flavor to facilitate this review!
I’m always on the lookout for new protein shakes, especially with our new early morning schedule to get the big kid to the bus stop in time. He’s been having a protein shake for breakfast for some time now, and I love mixing it up with new shake flavors.
Orgain uses plant-based protein: organic peas, brown rice, and chia seeds, to provide a complete protein with all nine essential amino acids. While we are not vegetarians, I do appreciate that there are brands that use various sources of protein.
For this breakfast, I used a recipe I saw on social media as a base, but made a couple of additions to make it more delicious and filling.

Pineapple Strawberry Dole Whip Copycat
Ingredients:
- 1/3 cup Greek Yogurt
- 1/3 cup frozen pineapple chunks
- 1/4 cup frozen strawberries (I used strawberries from my CSA box)
- 1 frozen banana
- 1 scoop vanilla protein powder
- Splash of milk (a little bit less than an ounce)- You may need to add a bit more, depending on how thicc your shake is and your blender’s capabilities
- 2 handfuls of ice cubes
Directions:
- In a blender or blender cup, add all ingredients.
- Blend until the mixture is thick and uniform in consistency (a little more liquid may be needed).
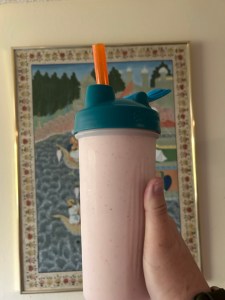
- Serve in a bowl or a cup. I put ours in blender bottles with boba straws so we could enjoy them on the go.
To make this vegan, swap yogurt and milk with your favorite vegan options.
This was so filling and packed with protein! You can’t taste the greens at all! The best part is that it has over 20 grams of protein- that’s 1/3 of your needed protein intake for the day! Plus 2 servings of fruit- a perfect way to start your day!
If you want to try Organic Protein™ & Greens Plant-Based Protein Powder or any of their other offerings, you can visit their website here and use the coupon code ABBYH15 at checkout to receive 15% off your order!
 Our
Our  Chipotle Dressing:

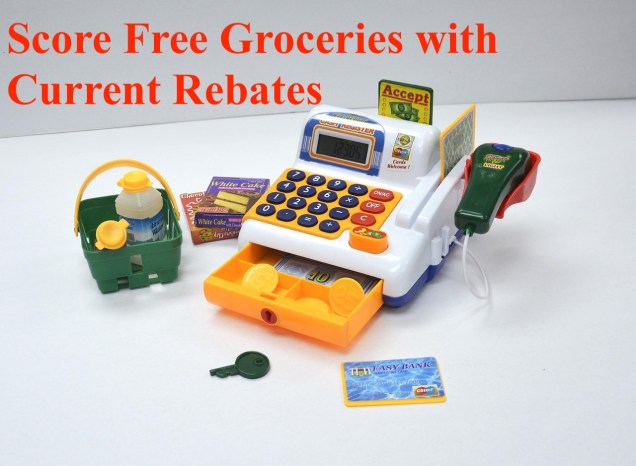 Rebates have been around forever.
 Summer means potlucks, picnics, barbecues, and all sorts of fun events with family and friends.
 Pick two kinds of beans: black beans, garbanzo beans, pinto beans, navy beans, cannellini beans, or even edamame. Whether you use canned rinsed and drained beans, or make them in your Instant Pot, or in the case of edamame, steam a frozen bag, your base all begins with beans.
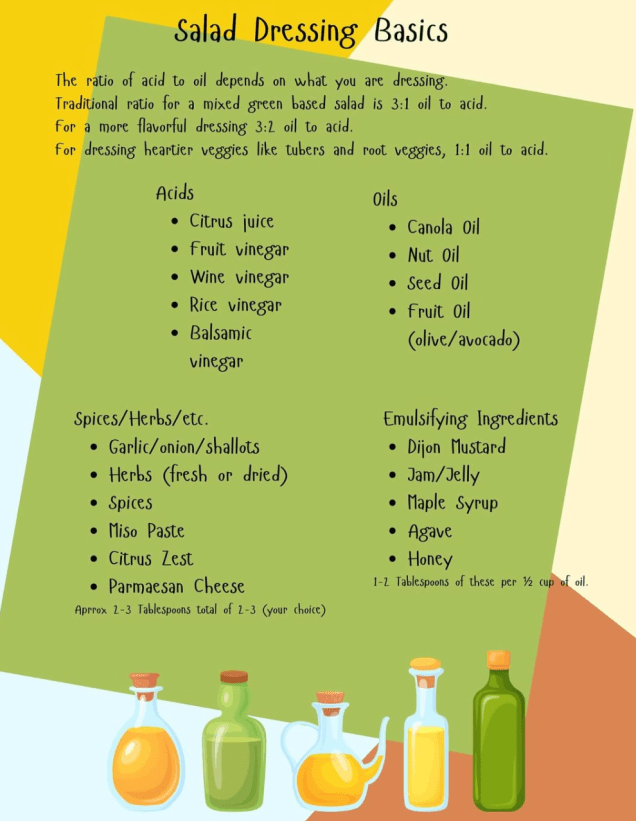
 Here is my recent Dense Bean Salad:
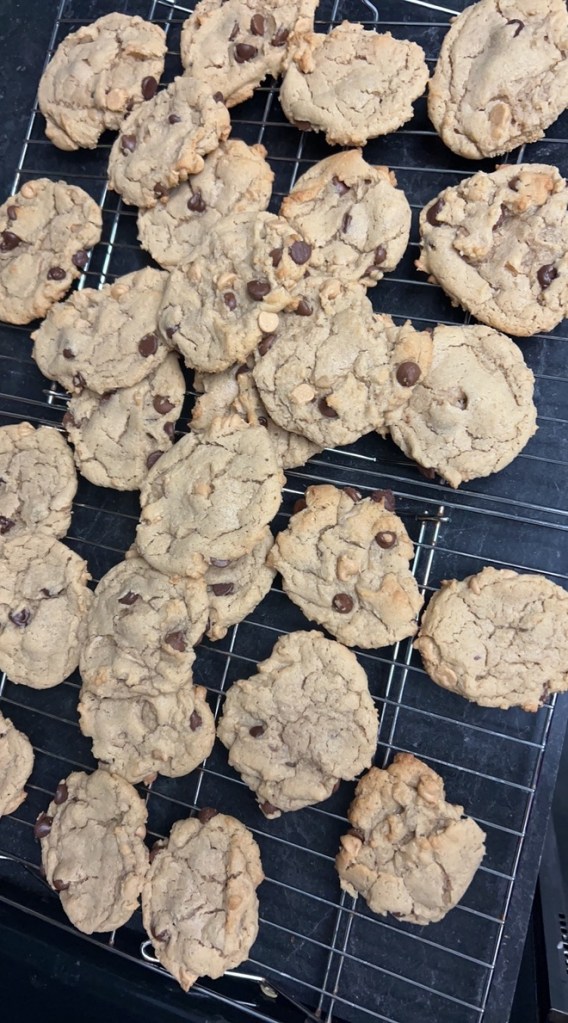 The kids love cookies. It’s one of the few foods they both agree on.

 One of my goals for the year is to get more fiber into myself and the kids. The average American adult consumes about 15-16 grams of fiber per day, significantly less than the recommended daily intake of 25-38 grams (