 I’ve seen this kind of recipe before and I had never made it because it’s really hard to pick decent fresh cauliflower, and honestly, frozen cauliflower is always kinda… soggy (?) when you defrost it and cook it.
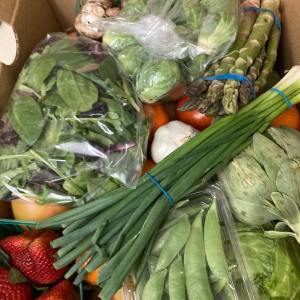
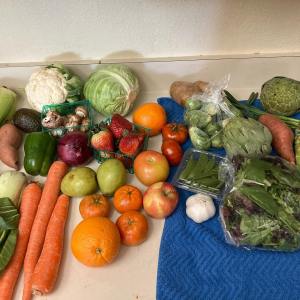
We’ve been getting a lot of cauliflower in our Yasukochi Family Farms CSA box over the past 5 weeks, so I figured it was time to give it a shot.
This recipe is easy. And tasty. It does not duplicate potato skins. I don’t care what any low carb/potato hating website tells you.
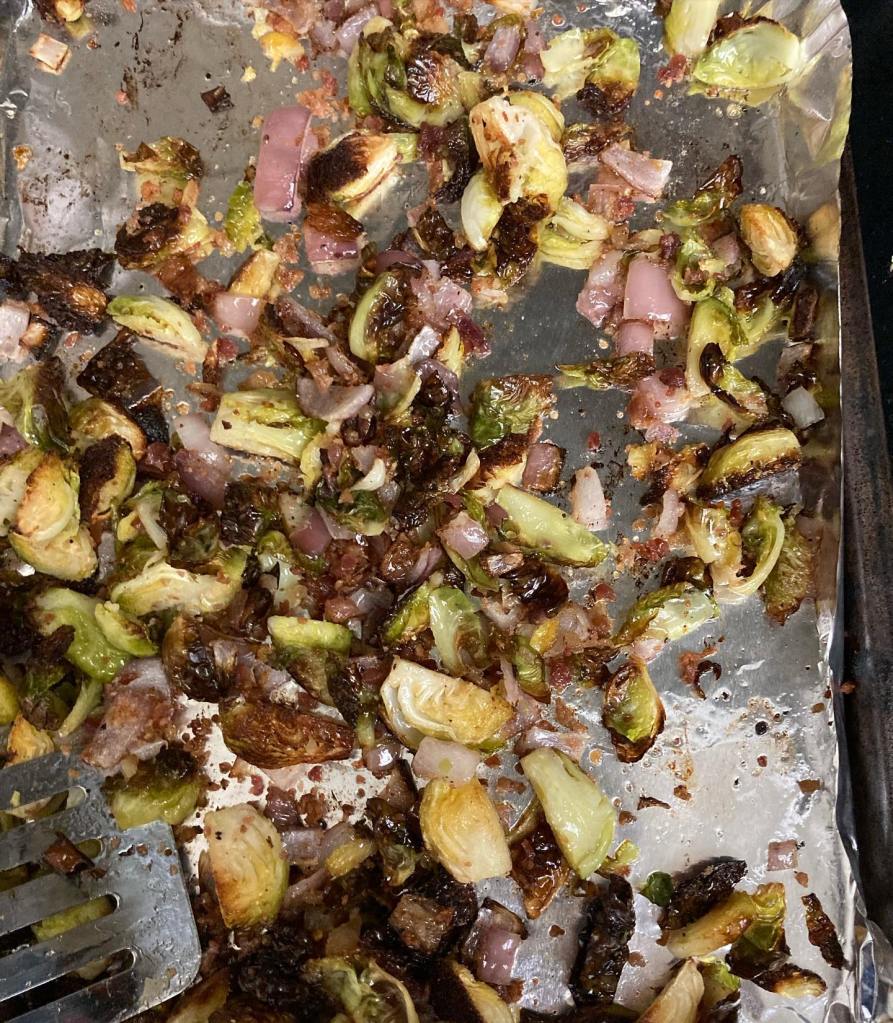
Loaded Roasted Cauliflower
Ingredients:
- 2 heads of cauliflower, leaves and stem removed, cut into bite sized pieces
- 2 T. Olive oil or your favorite cooking oil
- salt and pepper
- 1 cup shredded cheese
- 1/2 cup bacon crumbles (use real bacon, not baco’s)
- 4 green onions, chopped
- Sour Cream (optional, but tasty)

Directions:
- Heat oven to 450 degrees. Place cookie sheets lined with foil into oven to heat up with the oven.
- While oven/pan is heating, toss cauliflower in oil, salt & pepper.
- Once oven is heated to 450, remove pan, spread cauliflower out in a single, well spaced layer.
- Bake for 8 minutes, then turn veggies to roast evenly.
- Return to oven and bake for another 8 minutes.
- Remove from oven. Top with cheese and bacon. Broil for 2-4 minutes, until cheese is melty and bacon is hot.
- After removing from broiler, top with green onions and eat up ASAP.
- Serve with sour cream, or salsa. Or both.
This serves 2-4 people as a side dish, or be greedy and eat the whole recipe as a main dish. I won’t tell anyone. I make this at least once a week.
This recipe is gluten free. You can make it vegetarian by omitting the bacon.


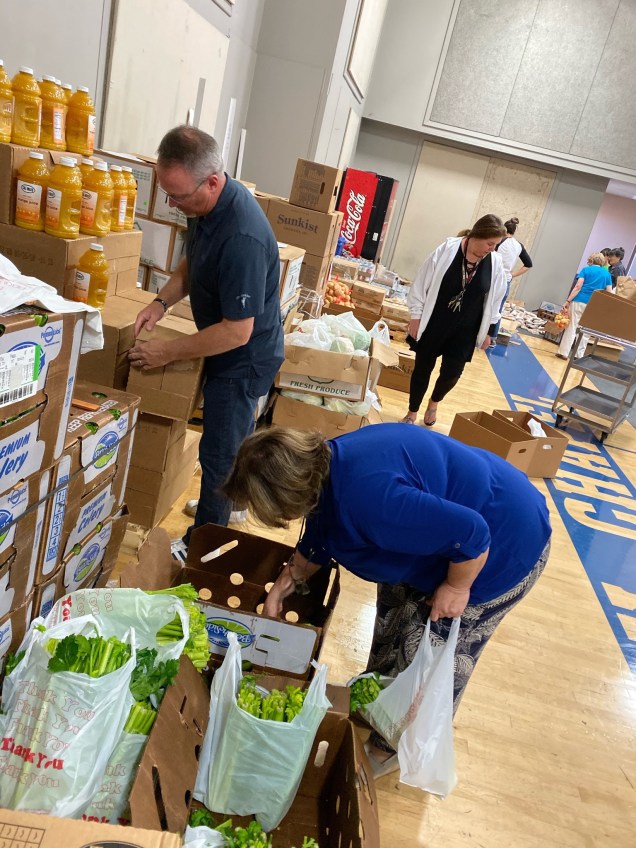 If your pantry is looking a little bare, cruise on over to Faith Chapel this morning! They hve non-perishable items bagged and ready to distribute to you, TODAY beginning at 9am.
 If you don’t find any facilities near you offering free lunches, I recommend contacting 211, they may have more updated information.
 And if you are in need of food for your entire family, but you find yourself not qualifying for
 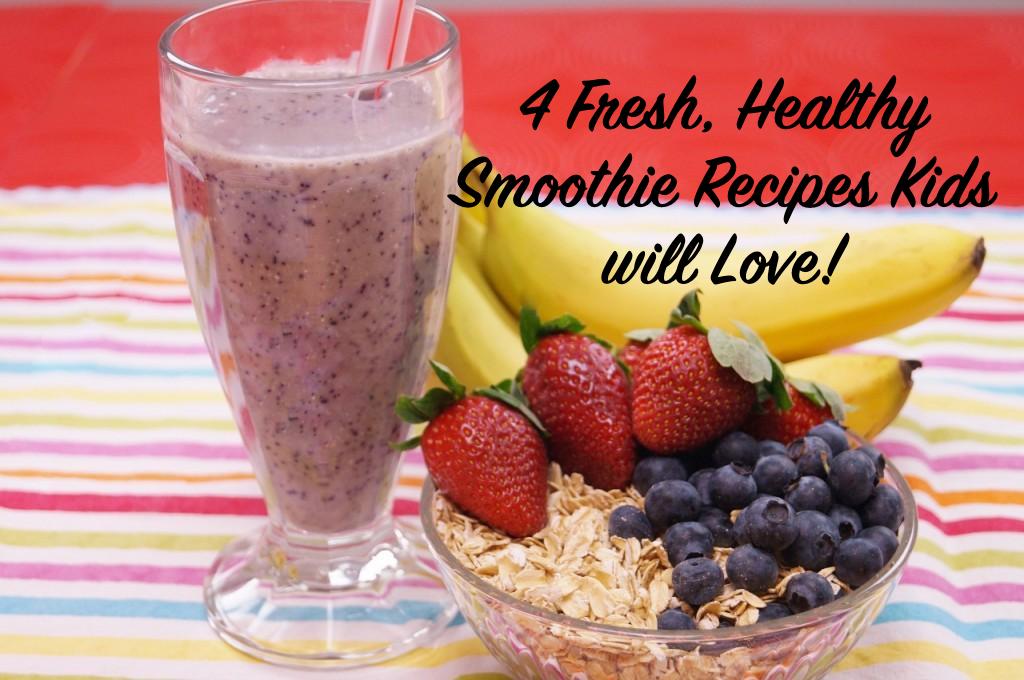 We have smoothies a lot. It’s a good way to get fruit and/or veggies into the kids without any fuss.
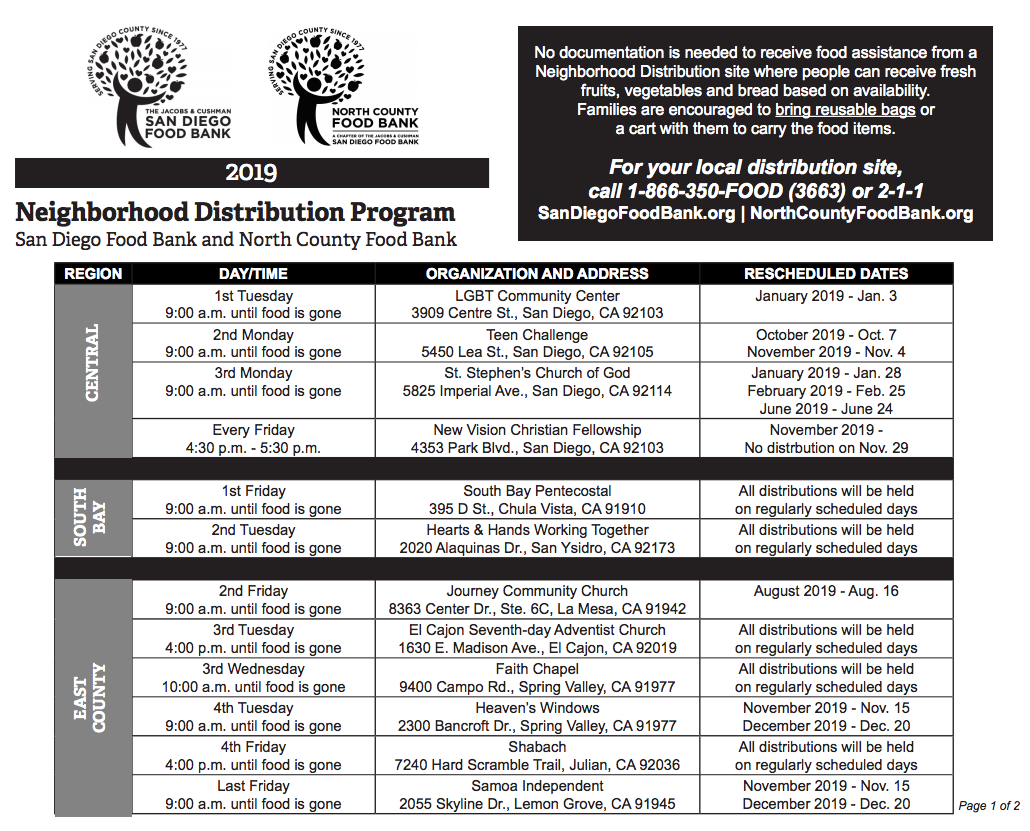


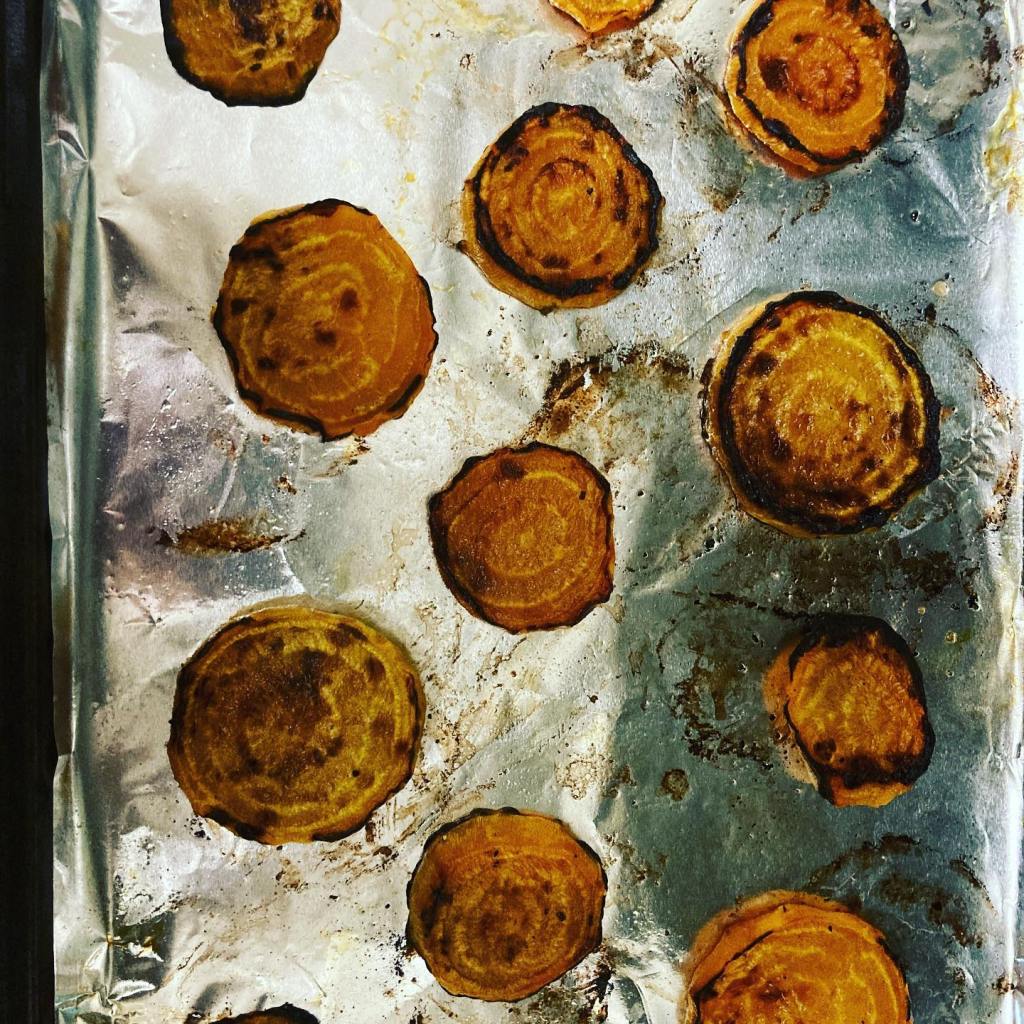
 We’ve been blessed (?) with an abundance of yellow zucchini as of late. Friends with gardens and a CSA box have brought us literally 10 lbs of yellow zucchini…. That’s a lot. So after making lasagna, stir fry, and zoodles, We were still left with 6 of those little yellow bastards, staring me in the face.
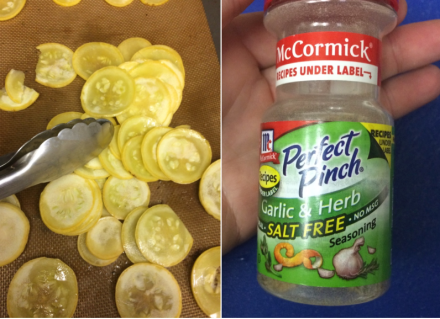 I googled “What to do with Yellow Zucchini” and the answers were shockingly, NSFW. However, deep in the recesses of Google were many recipes for baked chips. Figuring it had to be better than my kale chips debacle (5 lbs of burnt, greasy kale bits, no thanks), I set off to work.

