Family Recipe: Chicken Divan

DSC02717.JPGChicken Divan is also known as chicken and broccoli casserole, but we just call it yummy at our house. You can bake it in the oven, make it on the stove top, or cook it in the crockpot.  I’ll give you all three cooking directions.

My family loves it!

The original recipe calls for rice or noodles, but I use Quinoa.

Chicken Divan

Ingredients:

  • 2 large boneless, skinless chicken breasts, cut into bite sized pieces
  • 1 small onion, chopped
  • 1 tsp butter
  • 4 cups of broccoli (Fresh or frozen, your choice)
  • 2 cups white sauce, or 1 can Progresso Recipe starters (I prefer the roasted garlic, but the mushroom is good too)
  • 3 cups cheese, divided (I like cheddar, but gruyere or swiss is good too)
  • 1 cup quinoa, rinsed or toasted (You can substitute in 1 cup uncooked white rice instead)
  • 2 cups chicken broth or water
  • 1 tsp. garlic powder
  • salt and pepper to taste

Directions:

Crockpot

  1. Saute onions in butter on the stove until softened and clear.  About 5 minutes.
  2. Place all ingredients except 1/2 c cheese, all water, and quinoa in crockpot and cook on low for 6-8 hours. add quinoa and water/broth, turn on crockpot to high for 1-2 hours, or until quinoa is cooked. Top with cheese and serve.

Stovetop:

  1. Saute onions in butter on the stove until softened and clear.  About 5 minutes.
  2. Add chicken and continue to cook until chicken is no longer pink.
  3. Add remaining ingredients except 1/2 c cheese, and cook  covered on medium/low for 15-25 minutes or until most of the liquid has been absorbed by the quinoa. Top with cheese and serve.

Oven:

  1. Saute onions in butter on the stove until softened and clear.  About 5 minutes.
  2. Add chicken and continue to cook until chicken is no longer pink. Remove from heat.
  3. Mix in remaining ingredients except 1/2 c cheese, and pour into a greased casserole dish. Bake at 350 degrees for 30-45 minutes or until most of the liquid has been absorbed by the quinoa.  Top with cheese about 10 minutes before it’s ready, and continue to bake.

Serves 6-8.

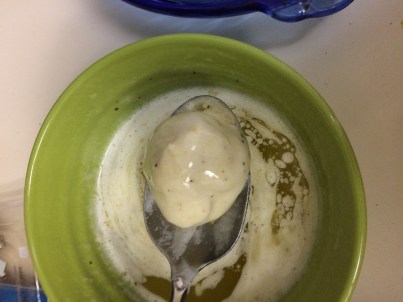
Never made white sauce? Here is a pretty basic recipe.

You can also substitute in 4 cups Winter Blend (1/2 cauliflower, 1/2 Broccoli), or another veggie that you prefer.

Family Recipe: Aunt Linda’s Mess

file8721293943264.jpgAunt Linda’s Mess, this recipe has been in my family for at least 50 years. When I was a kid we ate it at least once a month. My mother was born on her Aunt Linda’s birthday.  Aunt Linda and her husband live in Minnesota, where the majority of my mother’s family still lives today.  This dinner is what is referred to in the midwest as a “hotdish” and is frequently prepared in an electric skillet. This recipe serves 6-8 with a side dish, like a green salad, or steamed veggies.

This cheesy delicious mess is a great meal for kids and grown ups alike.  I’ve modified it a bit from it’s original form (which calls for Velveeta and canned mushrooms).

I’m not sure if Aunt Linda invented this dish or if she inspired this dish- and no one knows why it’s called a mess.  It reminds me of a cheesy stroganoff. Regardless- No one can say no to this dish!

Ingredients:

  • 1 lb ground beef
  • 1 onion, chopped
  • 1C chopped mushrooms (fresh are better, but you can used canned mushrooms if you prefer- just remember to drain them!)
  • 1 can cream of mushroom soup (you can use low fat/low sodium if you prefer)
  • 1/2C+ shredded cheddar cheese
  • 1 carton sour cream (or plain Fat free Greek yogurt)
  • 1 package cooked spaghetti (you can use any kind of pasta or macaroni- you want 6-8 cups of cooked pasta)

Directions:

  1. Brown and crumble beef.
  2. Add onion and mushrooms. Sauté until onions are transparent and mushrooms have softened (about 10 minutes).
  3. Add canned soup and cheese.
  4. Cook until the cheese is melted.
  5. Remove from heat and stir in the sour cream.
  6. Add the cooked, drained pasta and toss to coat the pasta.

You can omit mushrooms if you don’t care for them. Unfortunately, I’m not sure if there are any vegetarian or vegan work arounds for this recipe, since it’s mostly meat and dairy products!

I’ll be posting more family recipes over the next few weeks.


Buffalo Chicken Cheesy Monkey Bread

Sunday was the closing night of my husband’s production of To Kill A Mockingbird, and the end of a run means CAST PARTY!!

I wanted to make something that most everyone would enjoy. After watching countless Tasty Videos on Facebook and scouring our pantry and fridge, I came up with a modified version of this Cheesy Bacon Monkey bread.IMG_1833.jpg

We are currently without bacon (I know a high crime!), so I opted to modify the recipe and use Oscar Mayer Carving Board Buffalo Chicken instead. IMG_1821.jpg

Buffalo Chicken Cheesy Monkey Bread

Ingredients:

  • 2 tubes biscuit dough (10-12 biscuits per tube) rolled out
  • 2 cups cheddar cheese, grated
  • 12 slices Muenster cheese, cubed and separated
  • 1 Package Oscar Mayer Carving Board Buffalo Chicken, chopped
  • 1 stick butter, melted
  • 1 clove garlic, minced (or use the preminced garlic in a tube)
  • 1 Tablespoon dehyrdated onion
  • black pepper, to taste

Directions:

Spray a pie plate with Pam or your favorite spray release, set aside.

Pre-heat oven to 350 degrees.

IMG_1823.jpg

Mix the melted butter, garlic, onions, and pepper in a small bowl, set aside.


IMG_1825.jpg

Open the rolls of biscuit dough, separate and roll out the dough.


IMG_1826.jpg


In the middle of each biscuit, drop 1T of cheese and 1 T of the chopped meat.

IMG_1828.jpg


Roll and pinch the dough into a ball keeping the cheese and meat in the middle of the ball.

IMG_1829.jpg


Dip the ball of dough into the melted butter, and place into the pie plate. balls should touch each other.

Repeat until all of the dough has made into balls.

Pour 2-3 Tablespoons of the remaining melted butter over the balls.

IMG_1832.jpgTop with remaining cheese.

Bake at 350 degrees for 30-35 minutes.

Serve hot with extra buffalo sauce and ranch dressing.

Try really hard not to eat all of the yummy little balls before serving at your party. It was really hard, those things are crazy delicious.


Buying in Bulk: Real Savings (without food waste)

I’m sure by now that you know one of my major pet peeves is food waste. That’s why buying in bulk can be such a dangerous proposition. If you can’t use up all of something before it goes bad and you have to throw it away, that’s the same as throwing away money.

One of the ways we save money is by purchasing cheese in bulk. I buy the pre-shredded cheese. There are a few reasons.

  1. I love cheese. I will eat an entire pound block of cheese in a few days. However, I have never sat down and ate pre-shredded cheese straight from the bag.
  2. I don’t own a cheese grater. I don’t want to own a cheese grater. I don’t own a food processor. I don’t want one. I’m not a huge kitchen gadget fan.
  3. For me, it’s a trade off. I would rather pay a few more cents per ounce for the convenience of shredded cheese. My time is worth a few cents per ounce.

IMG_3214
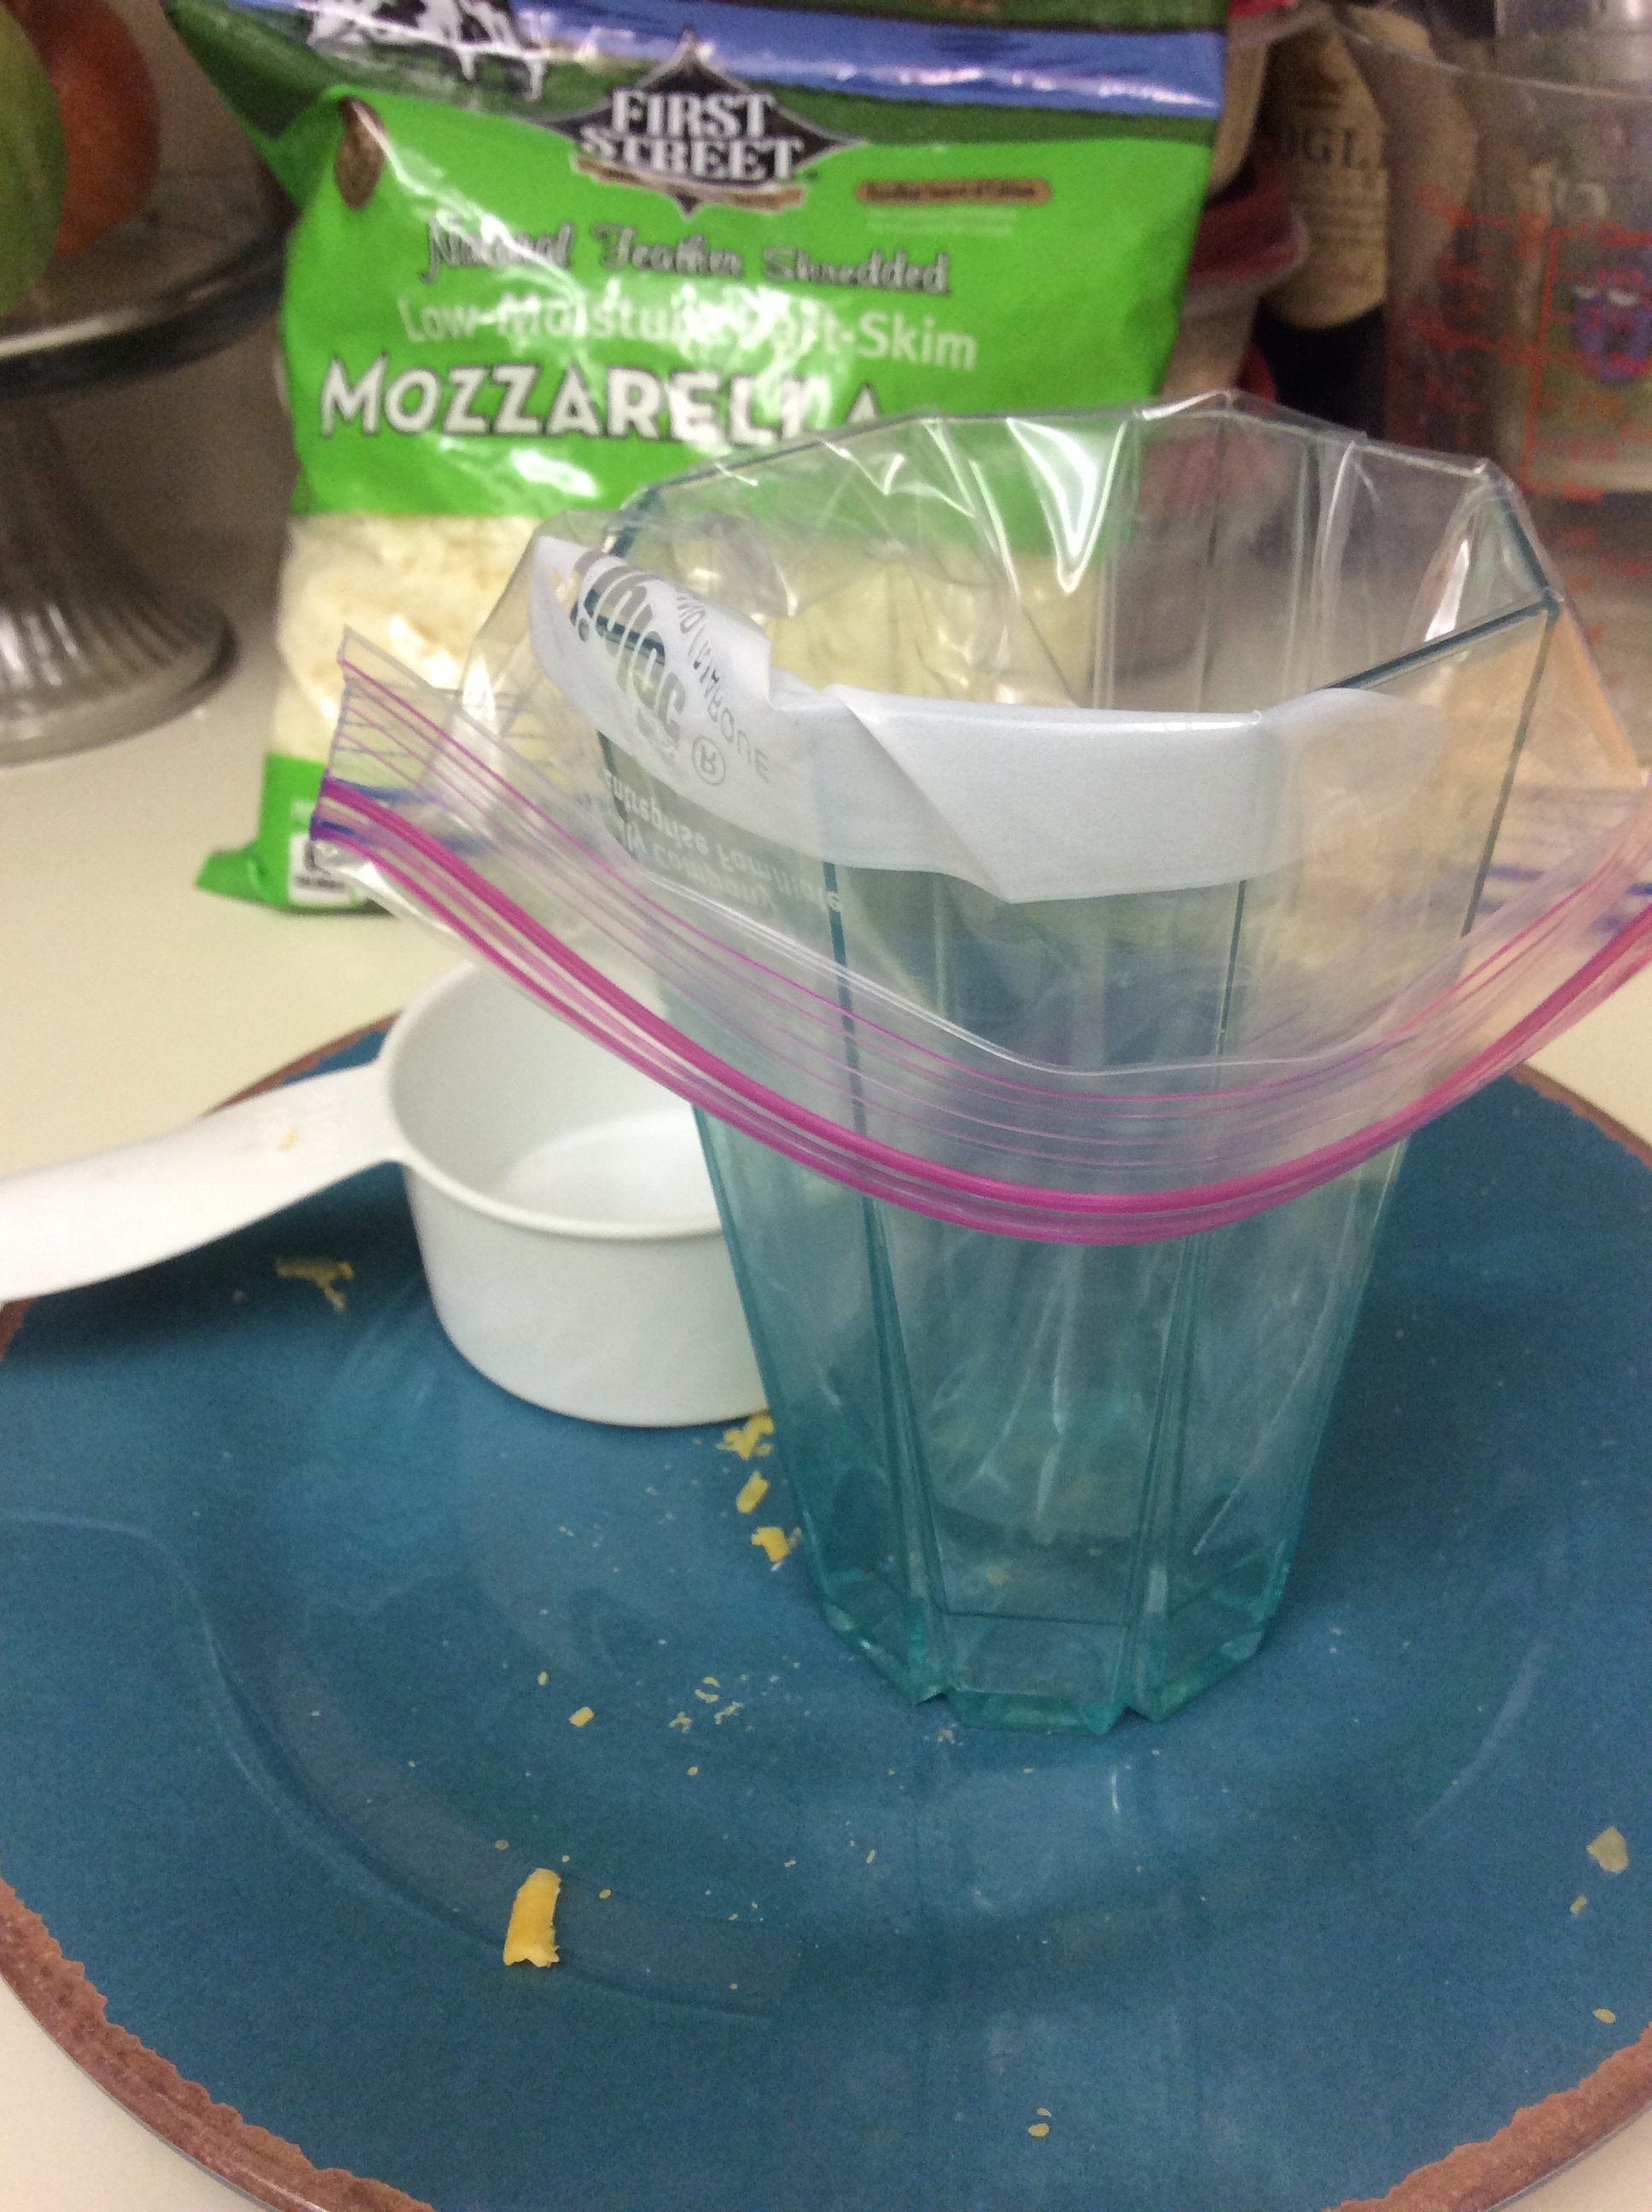
Once I’m home from the store, I set up my cheese packaging station. All you need is a stack of ziploc bags, a glass, a salad plate, and a measuring cup. (stack of bags not shown in this photo)

I measure my cheese out into 2 cup packages. That’s the size of most grocery store sized bags of shredded cheese.  I keep 1-2 bags of each kind of cheese in the fridge, and the rest of the bags go into the freezer. Yes, you can freeze cheese.

IMG_3215Put the bag into the cup and wrap the top of the bag (the part with the zip top) over the mouth of the cup. Using the measuring cup, measure however much cheese you plan to store per bag.

After my last trip to Smart & Final, I came home with a 4 lb bag of Mozzarella, and a 5 lb bag of cheddar.

I ended up up with 6 2 cup bags of Mozzarella, and a little left over, and 9 2 cup bags of Cheddar with a little leftover. I used the leftover cheeses to top a pizza. It was a little under 2 cups with both leftover cheeses combined.

IMG_3213Trying to figure out if this is a good deal? Let’s do some math…

The same brand of cheddar cheese in a 2 cup bag at Smart & Final is $2.59.

The 5 lb bag of cheddar cheese was $12.49, and it contained roughly 19 cups of cheese. That makes each cup of cheese .66, making each zip loc bag of cheese containing 2 cups of cheese $1.32. That’s a savings of $1.27 per bag over the pre-measured zip-top bag. When I’m not sure which is a better deal while I’m in the store, I check the price per ounce on the shelf label. Here are two examples of a shelf tag that shows the price per ounce for two separate products (Uncle Ben’s Rice and Carnation Instant Breakfast).

priceperounce


Different stores have different shelf tags, so it may take you a few minutes to decipher each stores tags.

Now you have to factor in the cost of the ziploc bags. We re-use our cheese bags, so after they are empty, I wipe them out, put them inside another bag (marked “for cheese”) and stash them in a drawer. I buy ziploc bags en masse when they are on sale. I don’t always re-use bags, but I try to as often as I can.

There you have it. Shopping smartly, taking advantage of a good deal, and how to store your food with little to no waste. That’s what being a savvy shopper is all about.