Family Recipe: Apple Crisp

img_2334
When I was a kid, my mom made apple crisp probably once a week, it’s a huge comfort food for me (and probably my brother too). It’s yummy, cheap to make, and very filling. And as far as desserts go, it’s not really too unhealthy.

This recipe makes a 9×13 inch pan. I use a pan like this one. It’s got a lid, so you can take it to potlucks or store any leftovers in the fridge. Halve the recipe to make smaller sized batch. Honestly, after having it, you won’t want to make a small batch.

Ingredients:

  • 8-10 green apples (about 3-4 cups), peeled, cored and chopped (green apples work best- Granny Smith’s are nice).
  • 1/2 stick of butter softened (don’t use oleo/spread- it makes the crumble topping watery)
  • 1/2 c. packed brown sugar (light or dark, whatever you got!)
  • 1T. cinnamon or pumpkin pie spice (whichever you prefer)
  • 1 c. quick cook oats (raw!) (if you have a gluten intolerance, you can use gluten free oats)
  • 1/4 c All purpose flour ( if you have a gluten intolerance, you can use nut meal- I like almond meal. Sometimes when I make this GF, I omit the oats and increase the amount of nut meal to 3/4 c)

Directions:

  1. In the bottom of a greased baking dish, pour the apples in a even layer.
  2. In a small bowl, combine the remaining ingredients with a pastry blender (Or a fork, if you don’t have a pastry blender), until ingredients are all combined and crumbly.
  3. Pour crumbles over apples in an even layer.
  4. Bake at 350 degrees until apples are all soft and mushy, usually 30 -45 minutes. THe topping gets toasty and crispy as it bakes!
  5. Serve hot with whipped cream or ice cream. Also great cold, lukewarm, or any temp in between.

It’s so freaking good!

You can use fresh peaches, apricots, or berries instead of apples. They do need to be fresh and ripe (no frozen or canned fruit).
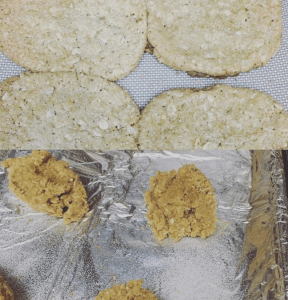
Tasty Chewy Brown Sugar Oatmeal Cookies!

Screen Shot 2016-05-31 at 6.11.51 PMDuring a recent pantry clean out, I discovered 3 pounds of brown sugar.

So, I unleashed my google fu to find a recipe to use some of it up. I discovered this recipe from The Pioneer Woman, but it didn’t quite meet our needs (aka what was in the kitchen). So with some changes, I whipped up a batch of chewy, yummy, spiced oatmeal cookies that are sure to please even the finickiest cookie monster!


I had to make 3 batches because they just kept disappearing!

Spiced Brown Sugar Oatmeal Cookies (Adapted from this recipe )

Ingredients

  • 1/2 cup (1 stick) Salted Butter, Softened
  • ½ cup coconut oil, room temperature
  • 1/2 Cups (packed) Brown Sugar
  • 1/2 cup white sugar
  • 2 teaspoons Vanilla Extract
  • 2 whole Eggs
  • 1-1/2 cup All-purpose Flour
  • 1 teaspoon Salt
  • 1/2 teaspoon Baking Soda
  • 2 teaspoons each: Cinnamon, allspice, ground ginger, nutmeg
  • 3 cups Old Fashioned Oats

Preparation

Preheat the oven to 350 F.

Beat together the butter, coconut oil, and sugars until fluffy. Beat in vanilla and eggs.

Mix together the flour, salt, baking soda, and spices in a separate bowl. Add it into the wet ingredients, mixing it until just combined. Mix in the oats until just combined. Don’t overmix!

Drop scoops/spoonfuls of dough onto a lightly greased cookie sheet, spacing them a couple inches apart. Bake for 12-13 minutes or until dark and chewy.  These cookies spread when you bake them, so make sure to give them room to grow!

Let them cool slight on the pan after removing from the oven, then transfer the cookies.

Makes 24-36 cookies (depending on the size cookie you make)


Review: #KABRITA Toddler Formula (Thanks #MomsMeet!)

Screen Shot 2016-04-13 at 5.39.47 PM

Recently I received a neat little box on my porch from Kabrita and Moms Meet.

It contained a canister of KABRITA Goat Milk Toddler Formula and fruit & yogurt pouches.

Immediately, Lil’ Man snagged one of the three pouches (well, not until I got this photo), and he retreated to the table to enjoy it. I gave the mixed berry to Itty Bittums, and she gobbled it up!

In the afternoon, I gave her a bottle of the Goat Milk Toddler Formula after she had some puffs and banana slices. She loved it, and I loved that it didn’t give her a rumbly tummy or gas. She’s got a sensitive tummy, and we had tried countless formulas to find one that made her tummy happy. Now that she’s getting older and is branching out to table foods, we are finding that some cow’s milk based products don’t agree with her.

Screen Shot 2016-04-13 at 6.25.09 PM
Someone did not want their photo taken today while enjoying her “milkies” as we call them

That is not the case with the KABRITA Goat Milk Toddler Formula! She is a happy little girl, and I’m a happy mommy! It’s super easy to mix up- Just one scoop per ounce of water. There is a handy little scoop in the canister.

What I love about the fruit & yogurt pouches is that they are great cold, frozen or at room temp. They come in three yummy flavors:Banana and Natural Vanilla Bean, Mixed Berry, and Mango Peach. I toss them in the freezer and slip one into Lil’ Man’s lunch bag, by lunch time, it’s nice and slushy! A perfect, healthy way to finish up lunch.

Did you know that Kabrita has a trial offer? You can learn more about it here.

Disclosure: I received this product for free from the sponsor of the Moms Meet program, May Media Group LLC, who received it directly from the manufacturer. As a Moms Meet blogger, I agree to use this product and post my opinion on my blog. My opinions do not necessarily reflect the opinions of May Media Group LLC or the manufacturer of this product.

Recipe: Honey Lemon Ginger Syrup

P1050863I’m no doctor, but I do know that when we don’t feel good, nothing is more soothing than lemon and honey.
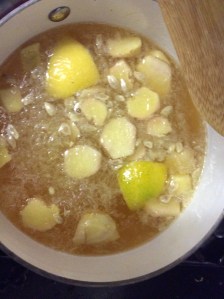
IMG_3602I recently made a very soothing syrup, and I had to share it with you. I put 1/3 cup of the syrup in the bottom of a coffee mug and pour boiling water over it. I have been drinking a mug full twice a day.
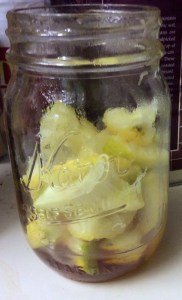
It’s quick and easy to make!

Ingredients:

  • 2 C honey (real honey, none of that honey flavored syrup junk!)
  • Juice of 10-12 lemons (reserve two lemons and chop them up)
  • A Thumb sized knob of ginger, peeled and sliced

Directions:

  1. In a saucepan, combine the honey, juice, and ginger.
  2. In a jar with a screw on lid, pack in reserved chopped up lemon pieces.
  3. Cook on low for about 20 minutes. Do Not boil!
  4. Pour honey mixture over lemons.
  5. Screw lid on and let sit on counter until it reaches room temperature.
  6. Store in the fridge.
IMG_3603
Waiting for yummy syrup!
IMG_3601
Hunks of ginger

If you’re looking for the science behind all of this, Lemons contain a lot of vitamin C! Honey is very soothing and coats a sore throat. Remember that honey should not be consumed by anyone under 12 months of age. And ginger contains anti-oxidants.

2 Great Freebies from Ralphs!

Right now Ralphs club members can add two great real food freebies to their Ralphs Club Card!

Screen Shot 2016-02-26 at 7.21.39 AMScreen Shot 2016-02-26 at 7.22.36 AM

The first great freebie is  ONE  Free Bfree bakery item – includes loaves, rolls, bagels and wraps. Available ONLY at Ralphs. This deal expires on 02/29/16, so you best hurry!

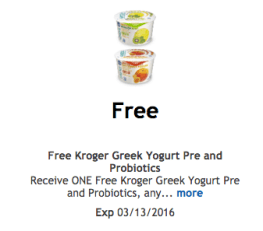
The second is the usual Free Friday Download, but this week it’s actually something yummy and a little more healthy than the usual fare. Score one Free Kroger Greek Yogurt Pre and Probiotics, any variety (5.3oz). This deal expires 03/13/2016.

One thing that I really like about Ralphs is their Free Friday Download.  If you are new to Free Friday Downloads from Ralph’s, here is more info about how it works:

WHAT IS FREE FRIDAY DOWNLOAD? An exclusive benefit to having an account online at ralphs.com is FREE products (yes, we said FREE!). When you download the free product coupon, it will be loaded directly to your Shopper’s Card and applied at checkout in-store.

HOW DOES IT WORK? Visit this page on Fridays

DOWNLOAD the digital coupon for the free product (make sure to download between 12:01 am and 11:59pm PT). View the coupon under ‘My Coupons’ in your account online or in the mobile app.

You have two weeks to redeem this coupon in store! Pick up the product at your local Ralphs store and digital coupon will automatically apply at checkout.

Don’t forget to check back on Fridays to see if a free product is available for download!


I’ll be getting back into the habit of posting the freebies at Ralphs as they pop back up!

DIY Frozen Pizzas!

file7501340931583

IMG_2937
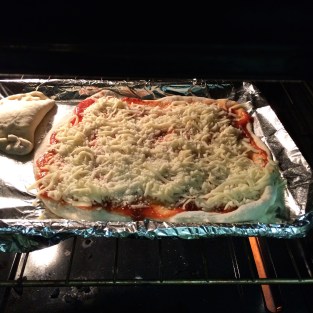
A cheese pizza baking away (and a calzone)!

We love Pizza. Probably too much. About 6 months ago, hubs bought How to Cook Everything: 2,000 Simple Recipes for Great Food,10th Anniversary Edition by Mark Bittman. It’s amazing. We’ve cooked a lot of stuff out of it, but the best is probably the pizza crust recipe.

It’s easy -only three ingredients, but I usually add a few extra!  You can make a few batches, put a ball of dough in the freezer, and save it for when you want pizza, but are feeling lazy. OR- You can make a couple frozen pizzas (which I do once a month), and when you are feeling really lazy, you’ll have no need to call Noid or Cesar (wow, both of those totally date me, right?)

DIY Frozen Pizza

Makes 1 pizza

Crust (recipe adapted from Mark Bittman’s):

  • 3 c flour, plus extra for kneading
  • 2 t. yeast
  • 1 c. very warm water (90-100 degrees)
  • 2 T parmesan cheese (it’s ok to use the Kraft in a green canister stuff)-OMIT IF YOU ARE VEGAN!
  • 1 T Olive Oil
  • dash salt
  • dash pepper


Directions:

  1. Preheat oven to 450 degrees.
  2. Mix all of the ingredients together until a soft sticky dough ball forms.
  3. Turn out onto a floured board or counter top and knead briefly.
  4. smooth a round ball of dough into a clean bowl. Cover bowl with a cool, damp cloth and allow to rise someplace undisturbed for 1 hour.
  5. After an hour, punch the dough, and turn out onto a floured board or counter top and knead for 2-3 minutes. At this time, you can roll the dough out and move onto the next step, or you can do a secondary rise (makes the crust extra crispy and chewy). If you elect to do a second rise, repeat step 3 and 4.
  6. After dough is rolled out to your preferred size and shape, lift into well greased cookie sheet or pizza pan. pierce the crust with a fork several times. This keeps the crust from getting weird bumps and lumps during the par-baking.
  7. Par-bake crust for 3-5 minutes. Allow crust to cool completely.

Now that you have cooled par-baked crust, it’s time to get topping! Transfer the pizza to a large piece of aluminum foil.

  • 1 cup or so of sauce, your choice
  • 1-2 c. cheese
  • Assorted toppings (precooked meats, veggies, fruit, herbs, etc)

Top the pizza as you like,, wrap the foil around the pizza, loosely around the top of the pizza so you don’t squash the toppings. Place in a large freezer zip top bag (don’t forget to label what kind of pizza it is) and freeze. pizzas should freeze at least 24 hours before cooking.

To heat, bake pizzas at 450 degrees for 8-10 minutes

IMG_2938Some of our favorite pizzas include:

  • Gyro (Sprouts sells it wit hthe pre-sliced deli meat!), feta, and spinach
  • Caramelized onions and peppers and sliced meatballs with cheese
  • whatever veggies we have in the house (broccoli, spinach, onions, peppers) topped  with cheese
  • chicken, bacon, and pepper jack cheese


You can substitute in whatever your fav crust is, whatever sauce, cheese, and toppings you like! And because the pizzas are room temp/cooled when you top them, it’s a great opportunity for kids to help assemble pizzas. These pizzas are a frugal way to have a yummy dinner- Each pizza costs about $3.00 and feeds the three of us!


Healthy Recipe: Pumpkin Protein Shake!

DSCN0612

We drink a lot of protein shakes. I have 1-2 a day. They help me stay full and keep me out of the fridge, and they give me the energy I need to wrangle the munchkins.

This is an easy, yummy recipe- especially if you like pumpkin!

Pumpkin Protein Shake

Makes 1 shake

Ingredients:

  • 1 scoop or pouch vanilla protein powder/protein shake (we use HMR 120)
  • 1 cup canned pumpkin (not the canned pumkpin pie filling, but the plain canned pumpkin)
  • 1/2 cup water (You can add up to an additional 1/2 c. if you want your shake thinner)
  • 1/2 cup ice cubes (You can add more if you like your shake thicker)
  • 2 T. sugar free butterscotch pudding powder
  • 1 T. sugar free vanilla syrup (like Torani)
  • cinnamon & nutmeg to taste

Directions:

  1. Place all ingredients in blender or magic bullet and blend for 1-2 minutes, or until all ingredients are blended and ice is broken down.
  2. Serve immediately.

Modifications:

  • If you do not use protein powder, substitute 1/2 c. fat free plain greek yogurt, and reduce water to 1/3 c.
  • If you are vegan, use soy yogurt (like Silk Brand).
  • If you have an ice cream maker, pour the mixer into the ice cream maker and use machine as directed for yummy pumpkin ice cream!

Calories for base recipe with no modifications: 225 Calories

New Recipe: Artichoke Bruschetta Casserole!

Artichoke Bruschetta CasseroleI’m on a new recipe kick right now. I don’t often get inspiration from Pinterest recipes because they are either things we don’t eat, or are overly complicated or cutesy. Instead I draw ideas from cookbooks, magazines, stuff I see at the grocery store while  I cruise the aisles,  and Buzzfeed’s Tasty Videos that are all over Facebook.  I was jonseing for Olive Gardens now defunct Spinach Artichoke dip the other day, so imagine my surprise when I stepped foot into my local 99 Cents Only…

IMG_1755I found a jar of this Bruschetta at 99 Cents Only the other day and small jar of Artichoke dip. I knew I had to take them home and concoct something delicious!

I set to work in the kitchen to find some other ingredients that would pair well to I could whip up something fabu for a meatless meal. I pulled out a bag of frozen spinach and cheese to compliment the flavors of the dips.


IMG_1754We had a spaghetti Squash on the counter, so in order to keep the dish healthier and full of veggies and fiber, I opted to bake up the squash and use it instead of the traditional noddles or pasta in a casserole. If you’ve never cooked with spaghetti squash, I posted a tutorial here.

After rummaging through the freezer and fridge, I assembled the ingredients and got working! There is no photo of the finished product because it got eaten up quickly.


Artichoke Bruschetta Casserole

Directions:

  1. Clean and bake the spaghetti squash. For info on how that’s done, check out the tutorial here.
  2. While the squash is baking, mix together the two dips in a large mixing bowl.
  3. Add the spinach and half of each cheese. Stir until completely mixed.
  4. Prepare a 9×9 glass pan with spray release.
  5. Place all of the spaghetti squash shreds/”noodles” in the bottom of the baking dish, and smooth down to create an even layer.
  6. Pour the dip mixture over the top and smooth to evenly cover the squash.
  7. Top with the remaining cheeses.
  8. Bake at 350 for 20-30 minutes or until the cheese has started to brown and bubble.

This dish is gluten free and vegetarian. To make it vegan, use dairy-free cheese! If you HAVE to have meat, this would be great with grilled chicken, or Italian sausages mixed in or served along side.

This recipe serves 2 as a main dish or 4 as a side dish.


Cooking Tutorial: Spaghetti Squash!

We eat a lot of veggies. That was one of the huge lifestyle changes we made a few years ago that has helped us maintain healthier weights.

One healthy swap we made was to spaghetti squash instead of pasta.  A lot of healthy/food swap websites like Hungry Girl tout Spaghetti Squash as a good substitute for carb-y noodles.

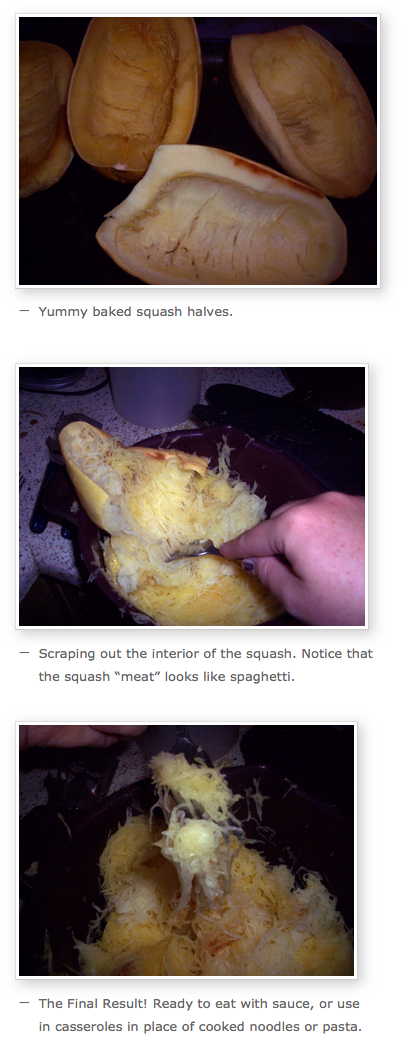
Here is a quick tutorial on making spaghetti squash.

Screen Shot 2015-11-04 at 8.56.33 AM

  1. Select a squash that is firm and unblemished. Not sure what they look like? Here is the wikipedia article all about the vegetable with a few pictures.
  2. Chop the end with the stem off. You’ll need a good sharp knife. I love our Henckels Meat Cleaver.
  3. Chop the squash in half. I do it length-wise, so it takes less time to cook in the oven.
  4. Take a spoon and scoop out the stringy guts and seeds.  Discard them.
  5. In a large glass baking dish, place the squash halves cut side down.  Pour a 1/2 cup of water into the bottom of the baking dish.
  6. Bake at 350 for 30-45 minutes or until the squash are fork tender (about the same feeling as a baked potato).
  7. Remove baking dish from oven and set the squash halves on a cutting board.  Allow to cool for 10-15 minutes, or until you can comfortable handle the vegetable.
  8. With a fork, “rake” the interior of the veggie.  The “meat” of the interior should flake off in long strings that resemble broken spaghetti.
  9. Once complete, discard the exterior of the squash.
  10. Toss the “spaghetti” with the sauce of your choice.

1 medium sized spaghetti squash serves 2-3 people, with a serving size of about 1 1/2 cups. It’s yummy with sauce (Spaghetti/red sauce, pesto, or even a cheesy sauce), or just a little butter and herbs. It’s a great way to get extra veggies into your diet, or if you’re Gluten Intolerant, it’s cheaper (and tastier) than GF pasta.

Later today, I’ll be posting a recipe that uses spaghetti squash as a main ingredient! With winter veggies starting to make an appearance in grocery stores and farmers markets, you’ll start seeing more and more squash!

Amazing New Creations at Boudin!

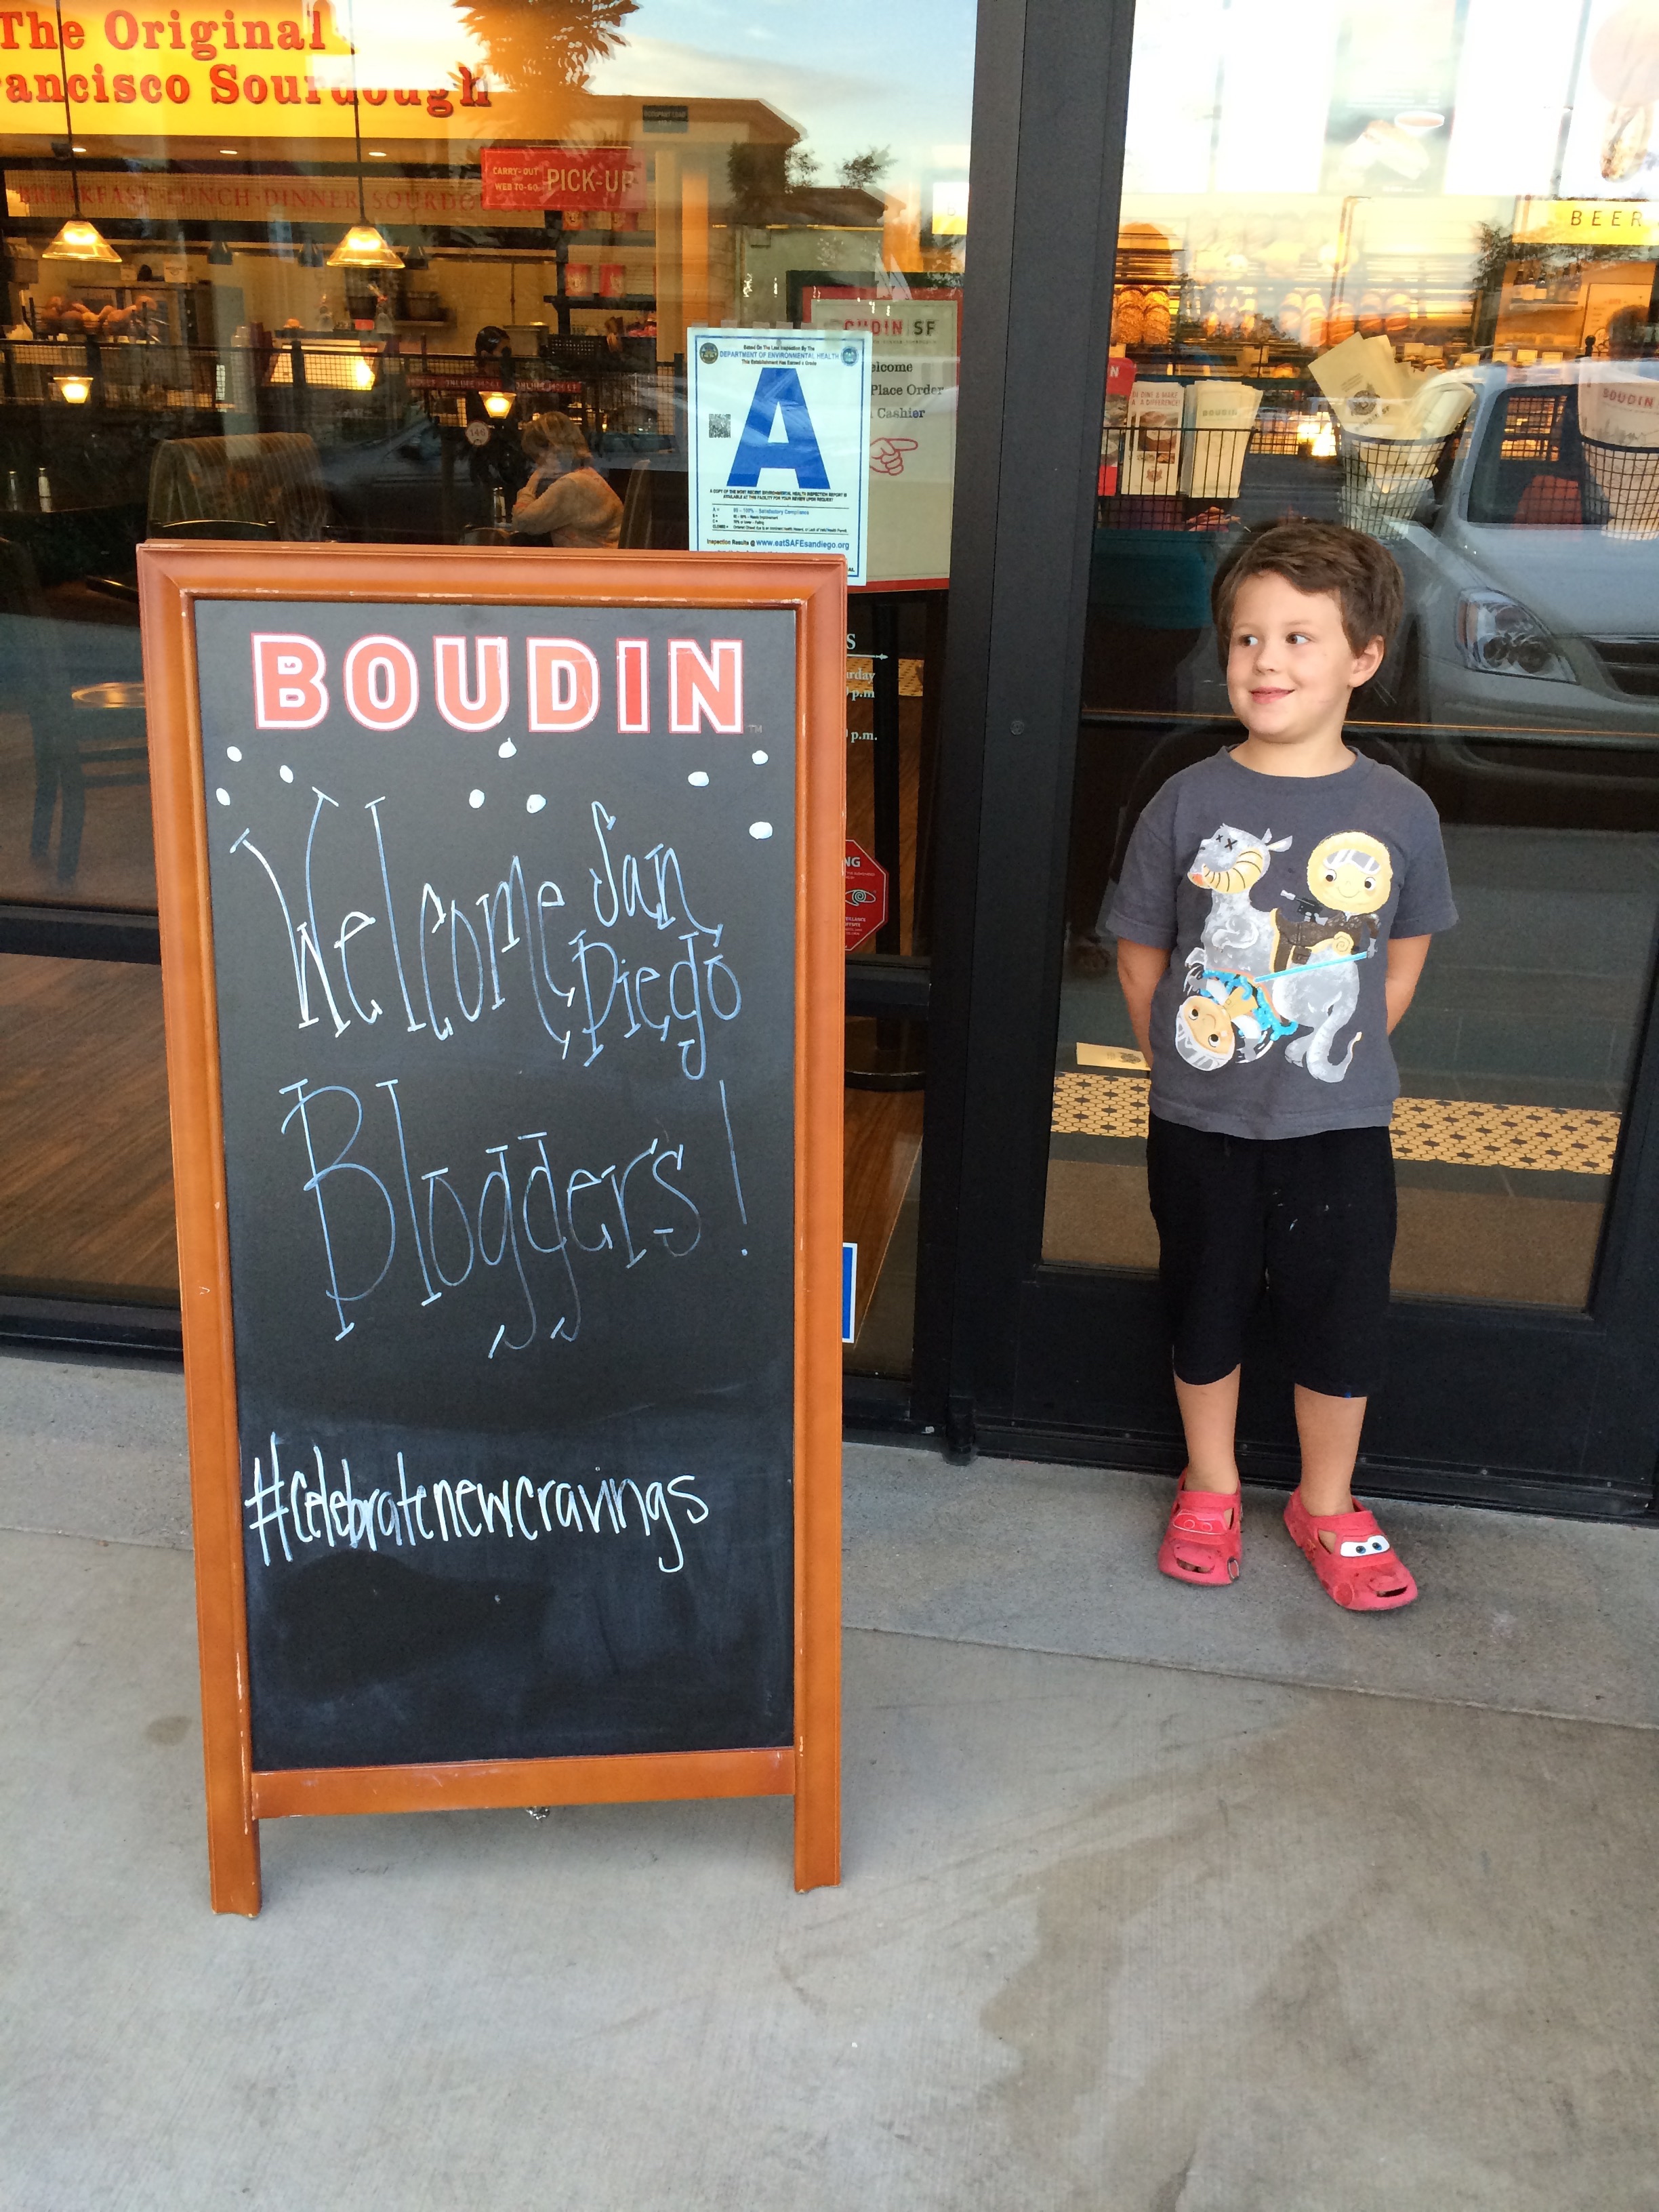
IMG_1509I love bread. And cheese.Imagine my excitement when Lil’ Man and I went up to Boudin‘s on Monday night and enjoyed their new seasonal offerings!

If you don’t know about Boudin, you are missing out. Crusty, tender, chewy sourdough bread, and so much more! For over 160 years, Boudin has been baking up crazy good bread, and they also have an amzing

There are tons of locations all over California, serving up amazing sandwiches, salads, soups, and heavenly bakery treats! Find your closest location here.

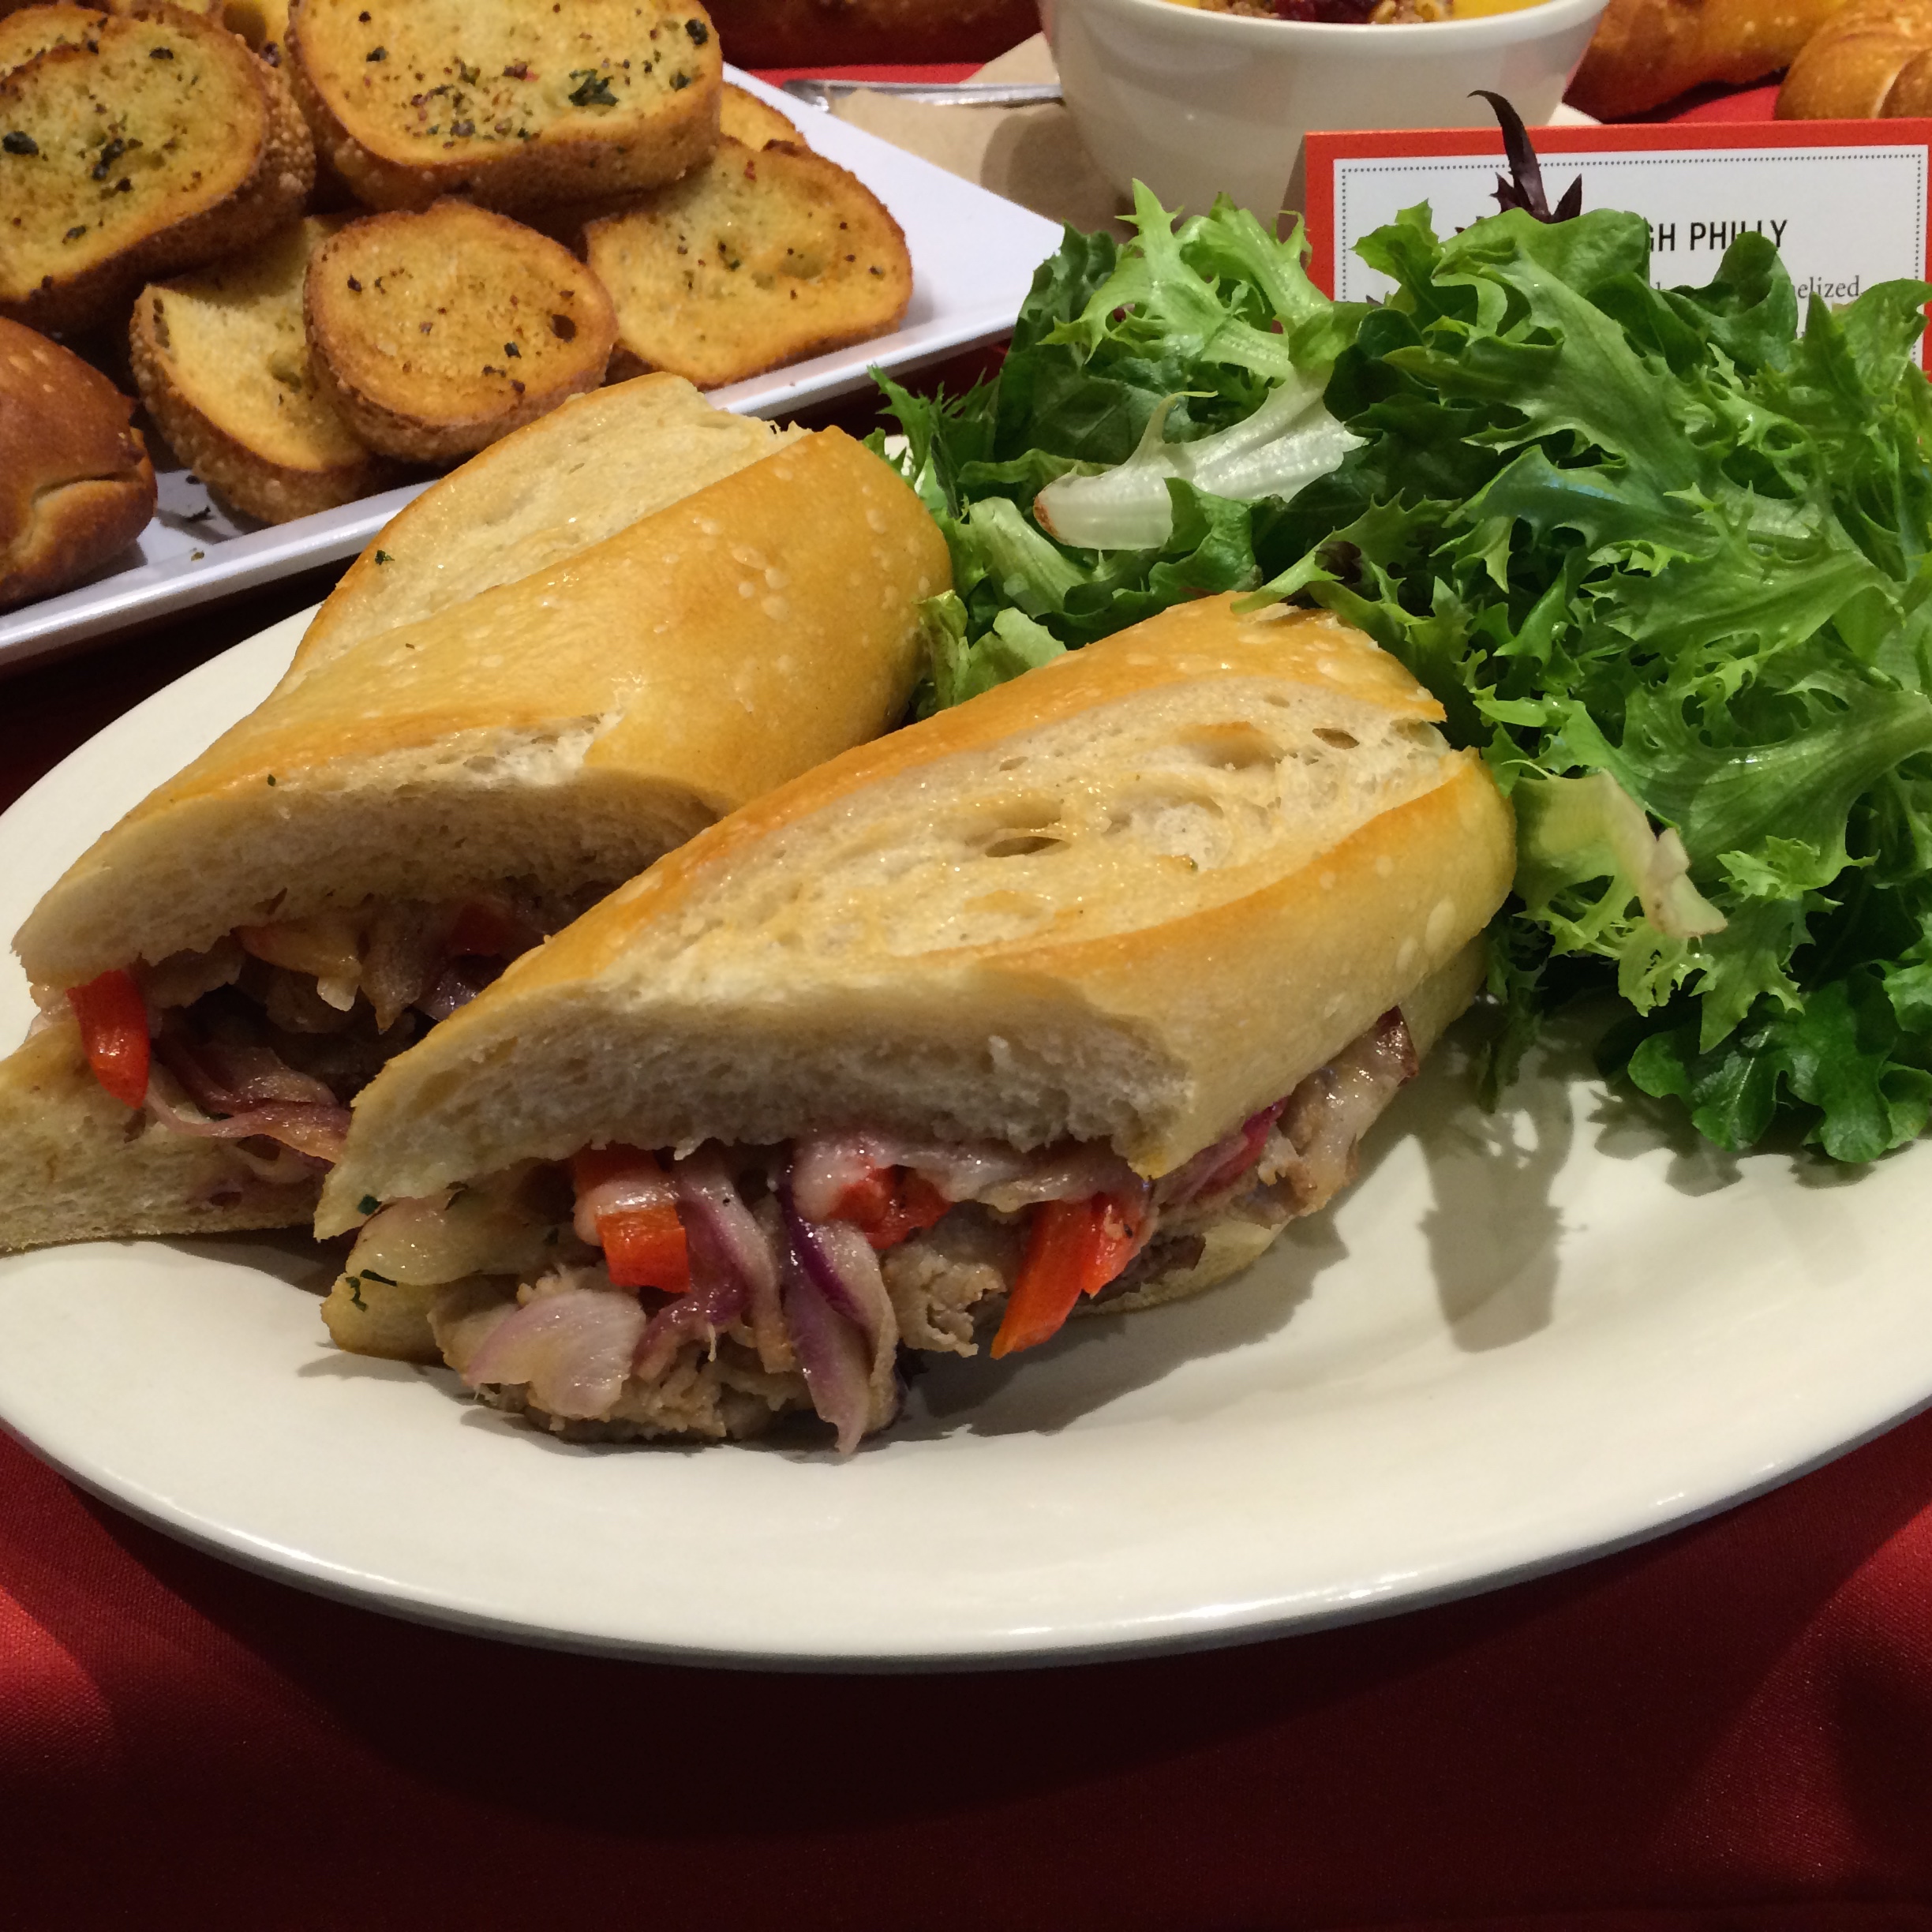
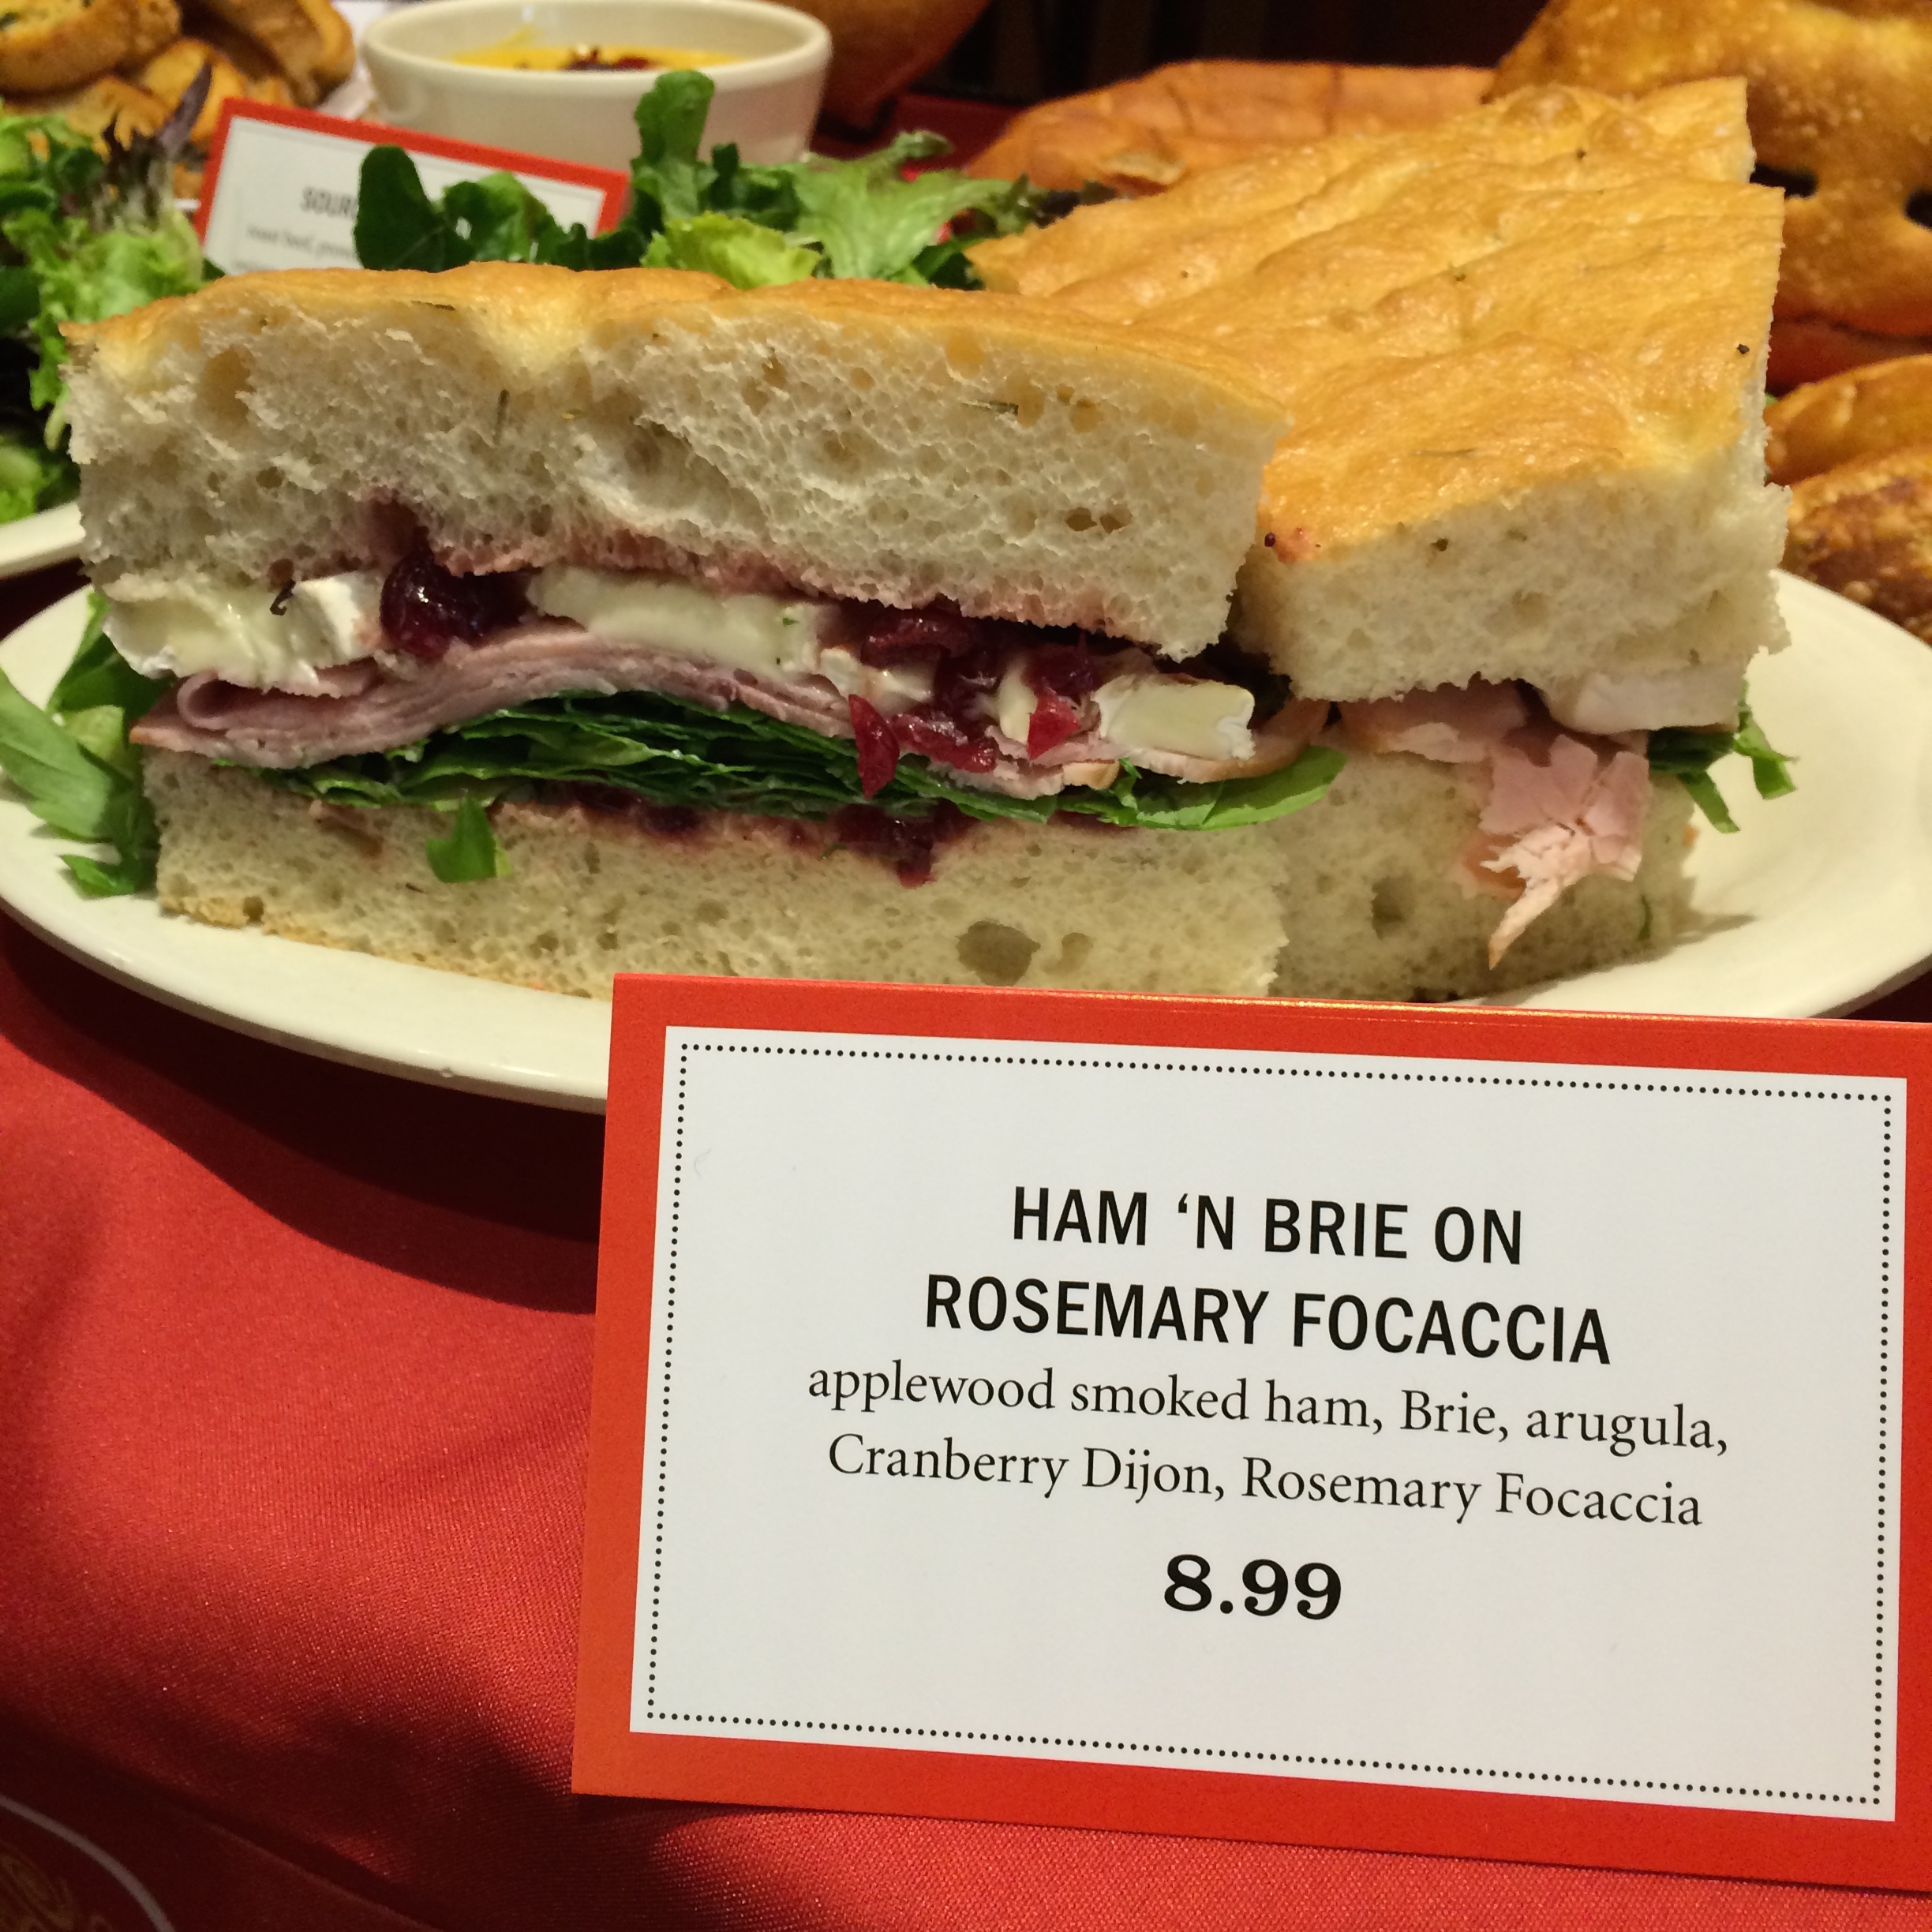
We sampled three of the new Seasonal Selections:Ham ‘N Brie on Rosemary Focaccia, Sourdough Philly, and Roasted Butternut Squash & Kale Salad

IMG_1517IMG_1520IMG_1521

Did you know that Boudin also has a Loyalty Club? Each time you make a purchase and for every dollar spent you will be awarded one (1) reward point. For every 50 points accumulated you will receive $3 off reward. The $3 reward will be automatically loaded to your account and you will receive an email notification to let you it’s there. Oh, yeah, but it gets better- You’ll get a free 1 lb. loaf of Sourdough bread each month upon any purchase that month!

Boudin also caters! Check out the awesome sourdough bread shapes you can order 24 hours in IMG_1514advance of your event: IMG_1513Yup it’s a Crab and a Turtle. They also make smaller turtles. One of the moms mentioned that she gets them for their kids. They hollow them out and turn them into bread bowls for soup. Such a great idea! You could hollow out the big ones and fill them with any kind of dip or soup to serve  at a party! They even make a Jack O’ Lantern shaped Sourdough loaf for Halloween! IMG_1535

They have all kinds of healthy, delicious foods- perfect for a busy family on the go. Eat in, or take it to go! If you opt to eat in, they serve a selection of Kendall-Jackson Wines, and have perfect pairings for everything on the menu!

Lil’ Man enjoyed a pizza and a ghost cookie. He told me the pizza was crispy and cheesy. This is coming for a four year old pizza fanatic, so you know it was good!

We’ll be going back to Boudin’s soon for lunch as a family! Big thanks to Boudin Bakery and Chef Alan Skversky for hosting a group of local bloggers on Monday night at their location on Balboa Drive. We had a great time! I received no monetary compensation for this post- I’m just sharing my experience!