Wow- I’ve been busy this week! I haven’t had a chance to sit down and post all week, but I’ve been trying to post on Facebook and Instagram- so remember to keep up with me there too.
This weekend there will be all sorts of free fun going on! Today is both Free Comic Book Day, and also Cinco de Mayo.
Here are just a few ways to celebrate:
Free Comic Book Day is always the first Saturday in May. Find your local Comic shop that participates here. Most shops have tons of free comics and other fun stuff (like cosplayers who will pose for photo ops with kids. Our favorite shop usually has Batman.)
 Cinco de Mayo- Luckily for us, we’ve got Old Town San Diego State Historic Park close by! Each year, Old Town hosts an amazing festival with music, dancing and art.
If you don’t want to brave Old Town, There is also a festival at Balboa Park,and The Timken Museum will be having a fun, free craft (and the museum is always free to visit).
If you want to avoid the crowds, check out Chicano Park. There are some amazing murals, and it’s close by some pretty tasty restaurants.
And if you are looking for other free fun, The San Diego City Libraries area great place to start. County Libraries may also be having fun stuff too.
Santee has Creative Play ~ Each Saturday from 10:30-11:30 am. Children learn through play! Meet new friends and have fun while developing early learning skills. Geared for ages 5 and under (but they are not strict with it- as long as the kids behave).
La Mesa’s branch library is hosting a Sensory Playtime tomorrow.
What kinds of fun events will you be going to this weekend?
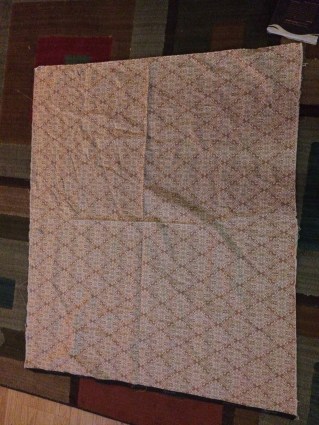 Lay fabric out, right side facing up.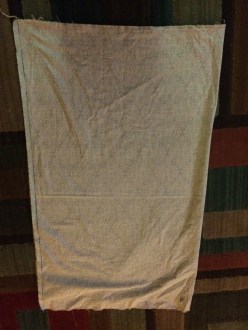
 Using a straight stitch on your sewing machine and a 5/8 inch seam allowance around one skinny end, turn the corner and sew up the side with the selvedge.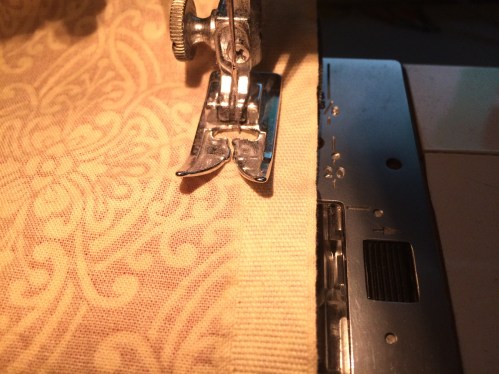


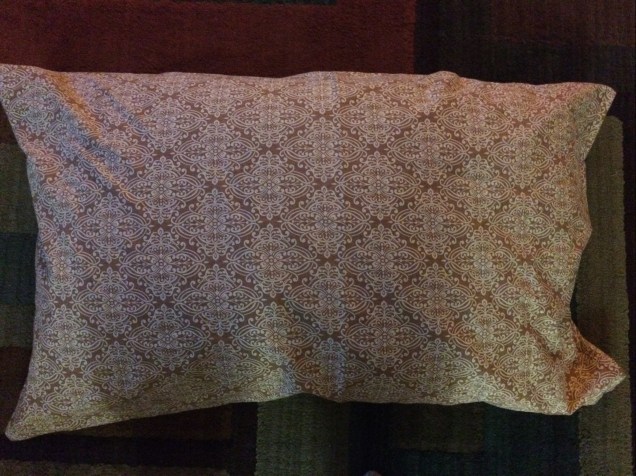
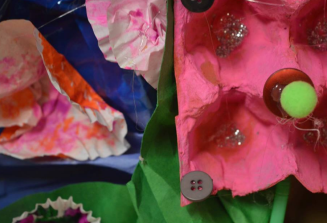
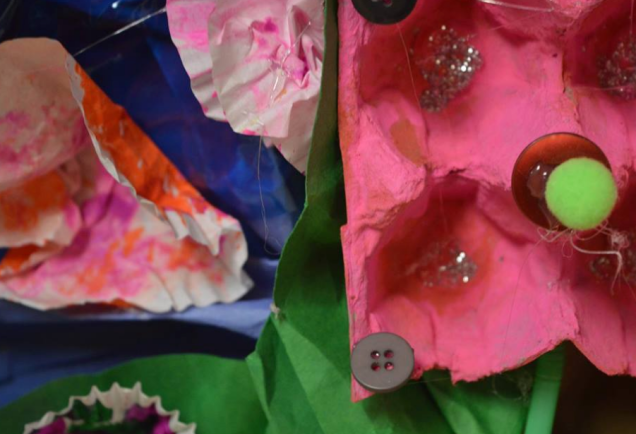
 This is a variation of a craft I did as a kid, and I have done with my kids! It’s very simple, as kids as young as about 2 1/2 can do it with help. This is the project that Margaret and I worked on as part of our most recent Craft Morning.


 For the past few months, Bitty and I have been hosting Craft Morning at our house. We set up a table (or two) get out craft supplies, invite mommies and their littles over, and we create.
 I get craft supplies for free from local swaps, Buy Nothing groups, Craigslist, as well as family and friends who are cleaning out their supplies.


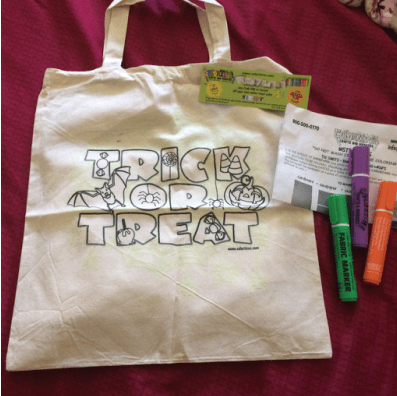 The bag is very sturdy and well put together.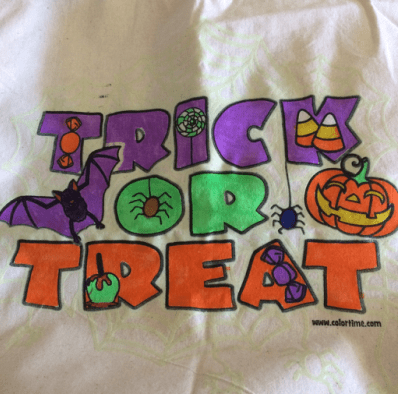

 If you know me, you know I’m not a huge fan of goodies bags at parties- I much prefer that the guest do a fun craft or an activity.
