Free Crafting Classes & Free Patterns from Craftsy


craftsy-logoI am all about picking up new skills and discovering new patterns, especially when they are free! Craftsy (which is an awesome repository of crafting and cooking classes) has a section dedicated to free classes. They also have a section dedicated to free patterns! What I really like is that you can take as many free classes and download as many free patterns as you like.

Here’s the full list of Craftsy free mini classes to choose from. Below are just a few of the classes I thinks are super cool!

Here is a complete list of the the free patterns you can download:

BTW: This Post contains affiliate links, if you purchase anything after clicking through my links, I may receive a commission.

Military Families: Save money by shopping at the Commissary!

deca_logo

For those who do not have a close friend or family in the military, the commissary is the on-base grocery store. The Defense Commissary Agency (DeCA) operates the military Commissaries throughout the world. Active duty military, guard and reserve members, retirees and qualified family members may shop there. Authorized shoppers need only show proper military ID to use the commissary.

There are 5 commissaries in San Diego:

MCAS Miramar (Mira Mesa/Miramar), Naval Base 32nd Street (Downtown), North Island NAS (Coronado), Imperial Beach, and Camp Pendleton. There is a Commissary withing 30 minutes of where ever you live in San Diego. There is also a small PX/snack shop/gas station in the military housing up at Murphy Canyon (off interstate 15 at Aero Drive).

If you don’t live in the San Diego, CA area, don’t fret there may be a commissary close to you! To find the commissary closest to you, visit here.

Commissaries charge the wholesale price +10-20% for goods sold in the commissary, and there is a 5% surcharge at the end of your order. What this means for military families is that you can buy food and toiletries for much less than you can at the civilian grocer. The surcharge covers the payroll for cashiers, the electricity bill and other administrative costs.

Without using coupons, the average commissary shopper saves 30% over civilian grocery prices. When you combine the lowered prices at the Commissary with coupons, you will be saving 60-70% over civilian grocery prices. To learn about the coupon policy for the commissary, visit this page.  It also includes a lot of great FAQ and some videos.

If you are new to base shopping, here are some things you need to know:

  •  There is no sales tax on taxable items at the commissary: Toilet paper, cleaning supplies, dog food, etc.. There is no tax on food in CA.
  • The commissary gets crazy busy the weekend of payday. As in you’ll wait in line for upwards of an hour to check out. It’s seriously insane. Try to go a few days after payday to avoid the craziness.
  • The baggers do not make an hourly wage. They work only on tips. Keep that in mind. There are tip boxes at each checkout stand. My mom generally tips $5-8 for her monthly grocery trip, but she pushes her own cart to the car and loads her car up herself.
  • There are a large number of tear pad coupons available. They usually have a long expiration date, and are only good at the commissary. Usually, these items that have a pad of coupons next to them are on special, so when you combine the sale price with the coupon, it’s a steal. In that case, buy a couple extra of the items that you find to be on your list or that you know you will use.
  • You can use manufacturer coupon (from newspapers and printable coupons) at the commissary.   State-side locations only accept valid, in date coupons.  Overseas locations accept expired coupons, up to 6 month after their expiration date.
  • Right inside the door of most commissaries is a newsstand type rack with coupon inserts and circulars. Take a minute to pull your cart over, and flip through them. There are always great coupons in them. Don’t forget a tiny pair of scissors!

The commissary has a website. DeCA’s website has a lot of great info, including sales information, shopping lists, and did you know that the commissary also has a savings card that you can load e-coupons onto? You can pick the card up in the commissary, and register it online, load coupons and you’ll be saving even more in no time.

rewardscard-web

The commissary is a full service grocery store. Most larger locations have butchers and grind their own hamburger/ground beef several times each day, a full produce department (with limited organic produce), a bakery, and a service deli where you can get meats and cheeses sliced, and even a deli sandwich made to order! Most commissaries have organic food, gluten free food, various ethnic foods (South American, Pan Asian, European), and a large variety in name brands. There is no generic brand as DeCA does not manufacture food.

Most commissaries are very large. At MCAS Miramar for example, if you are to walk up and down each aisle in the entire store, you will have walked 1 mile at the end of your trip.

Most Commissaries have a case lot sale each year. Commissary Case Lot Sales are held during both the May and September timeframe each year. The sale dates for each store will be available at least a few weeks prior to the sales commencing. Check your local store during the April and August timeframes for more information.

If you have never shopped at a commissary before and you have base privileges, I recommend that you go at least once. You’ll be surprised.

Oh, one last thing… Don’t forget the scratch and dent section! The one at MCAS Miramar is pretty big.

How do I know so much about the commissary? I grew up in a military family, in a military town, and I grew up shopping on base with my mom. Occasionally when she has a large shopping trip, I go with her as her guest and push the cart (it gets really heavy too!!). I can’t buy anything, as my military dependent ID card has long since expired, but I get a good insight to prices, deals, and sales.  It’s a very fun store to coupon fairy at!

Shopping for healthy food with coupons: It can be done!

One of my goals for this blog is to show you all how to save money and continue to eat the same healthy foods you already eat, or give you new avenues for saving so you can afford more of the healthy foods you like that you can’t find coupons for.

Today I went to Ralphs. For $7.30, I bought all of this:IMG_2850

That’s 10 1 lb. packages of Driscoll’s Strawberries and 3 cartons of Dream Blends nut milk.  I used ten Driscoll’s coupons I earned from the Driscoll’s Advisory Panel and three Dream Coupons that I printed from a recent Facebook Campaign (they are no longer available). 

The Strawberries were $1.48 on sale and I used a .75 off coupon on each package, for a total of $.73/each.

The nut milk was marked down to $1.79/each and I had $2.00 off coupons. Because the coupon price was greater, the cashier adjusted the amount of the coupon on her register, so I received the nut milks for free.

But, what am I going to do with 10 lbs of fresh fruit? I’ve already chopped up 5 lbs and put them into snack size Ziploc bags. They are chilling in the freezer, perfectly portioned for smoothies or to go into yogurt.

Henry is taking two pounds to school tomorrow to share with his class (his school has a no baked goods/candy for birthday celebrations rule).

One pound we will eat tonight, and the remaining two will be served at Henry’s birthday party on Saturday. Ten pounds of fruit doesn’t go all that far when you have two guys that LOVE fruit!

If you follow a healthy diet and are looking for more coupons on the products that you regualrly purchase, here are a few suggestions:

  • Check the websites of the products you like. You’d be surprised how many have printable coupons on their websites! That’s how I found out about the Driscoll’s Advisory Panel!
  • Don’t forget to check websites like Coupons.com, Redplum, Smartsource, CommonKindness, and Hopster for healthy printable coupons. Common Kindness and Hopster specialize in “whole” food coupons.
  • Don’t skip out on the money saving apps! This article has a pretty comprehensive list of money saving apps.

Recipe: Butternut Carrot Bisque

Bisque. It’s gotten a bad rap. Rich, creamy, laden with calories.

If your refined palette demands a creamier texture here is a secret cooking ingredient: Evaporated Milk. It’s got a rich, velvety mouth feel that mimics cream in soups, but it’s got a fraction of the calories. And it’s shelf stable, so you can always keep a few on-hand.

Butternut Carrot Bisque

Ingredients:

  • 1 bag of cut up Butternut Squash (about 22 ounces- About the same amount of flesh from one medium sized Butternut Squash)
  • 1 cup chopped yellow onion
  • 1 T. butter
  • 10 oz Wild Veggie™ Carrot Puree
  • 4 cups Stock (your choice, I either use vegetable stock or chicken stock)
  • Salt, pepper, cinnamon, and nutmeg to taste

Directions:

  1. In a large stockpot, saute onion in butter until the onions are translucent.
  2. Add in butternut squash and continue to cook over medium heat for 10-15 minutes until squash is soft.
  3. Add remaining ingredients, and cook on low for 20-30 minutes, allowing flavors to blend.
  4. Prior to serving, process in a blender in batches (I use our Ninja), or use an immersion blender.
  5. Serve steaming hot with biscuits. YUM!

This also freezes really well, so if you have leftovers, freeze them for a night that’s begging for soup!

Ditch Your Junk Mail & Earn a $20 Visa Gift Card!

One of the ways that I earn extra spending/Christmas money is I participate in SBKC’s junk mail program. It’s easy and takes no time and almost zero effort.

The Small Business Knowledge Center (SBKC) studies marketing techniques and practices.  They securely dispose of your junk mail after they are done with it- no need to worry!

SBKC mails you postage paid envelopes, you stuff your junk mail into it and drop it into the mail.
pngYou will receive points for your junk mail, and once you receive 2000 points, you will receive a $20 pre-paid Visa GiftCard!  I am really excited about this because I can save these for holiday shopping, or spend on a fun date or an afternoon out with Lil’ Man!

You can also forward emails to SBKC as well.  They occasionally have special projects where they are looking for special items like welcome packets for credit cards, Explanation of Benefits from your health insurance carrier, or loan information that you can obtain by walking into your bank or credit union.  Special projects offer additional/bonus points or gift cards .

I’ve done SBKC for 5 years and I consistently earn 5 or 6 gift cards per year!  That’s free money that I didn’t have to work for.  Just forward some emails before I hit “delete” and toss my junk mail into an envelope as it comes into the house and mail an envelope once a week.

They email you once a month to update you on the amount of points you have and with any special projects they have going on. A few times a year they look for special types of mail, open enrollment solicitations, IRA or other investment/retirement info. When they want those materials, they’ll email you and let you know- usually there is a bounty of extra points available too!

Unlike many other programs, you can sign everyone in your home who is over the age of 18!

If you are interested in signing up, here is the link. In the box next to: How did you here about the SBKC Consumer Panel? Please type my name: Abby Hewes. I get points for referrals, and once you sign up and refer your friends, you will too!


Getting Crafty at Home: Frugally!

Screen Shot 2015-03-07 at 8.04.54 AMHenry loves Animals- All Kinds. So a few months ago we decided to do a craft that focused on his love of sea life. I try to do a craft with him 3-4 days a week in the morning after breakfast. And we do it on a budget. I spend no more than $10/month of craft supplies. I’ve posted my money saving tips for crafting at the bottom of this post.
Making our Aquarium took a few steps.
  1. Gather supplies: Construction paper, glue sticks, scissors, pipe cleaners, and googly eyes. We also use a lot of glitter glue.
  2. Cut out “water” and glue/paste it to large piece of craft paper.
  3. Then we selected 4-5 sea animals the he likes, made them out of construction paper (and pipe cleaners for the crab!), drew faces on each animal based on what the animals do (mean face for crab because he pinches, big open mouth for the hungry piranhas). We made a few of the sea animals 3-d (anemones and jellyfish and crabs legs and pinchers).
  4. If you aren’t sure what kinds of sea creatures to make, check out Octonauts (they are on YouTube), or other nature shows for kids (we also like Wild Kratts). There are tons of cool books about undersea creatures aimed at kids at your local library.
 If your kids aren’t into undersea animals, here are a few other fun crafts with animals:
Make a goldfish bowl: Start by pasting goldfish to fishbowl shaped paper and use water colors to paint the water in the fish bowl.
We also love to make what Henry calls “Going to the zoo”: Draw animal cages on paper or make them out of pipe cleaners or stick pretzels and put different animal crackers in the cages. We do this before a zoo trip. I try to keep 2-3 zoo maps with our craft stuff too, so we try to find the animal cracker animals on the zoo map too.
10918948_10153024113906061_2463789217471650233_oCaterpillars: I cut out wiggly caterpillars from green construction paper. Then we glue pom poms to his body (because caterpillars are fuzzy), add googily eyes and draw a mouth. Sometimes we add antennae.
To make our crafts more educations, during our craft time, we talk about the sounds that the animals make, where they live (habitat), what do they eat (meat, plants, both?).
Sometimes we make Monsters. This is a great opportunity to talk about different body parts, and how people and animals are all different. Here is a photo of out Monster assembly line:
10857190_10153014987651061_2298967290518812755_o
We try to do a craft each day: drawing, painting, cutting paper into shapes. These activities help foster his creativity and imagination, and they help hone his motor skills. To keep Henry engaged, I select crafts and activities based on subjects that are of his interest.
Tips to keep daily/weekly crafting frugal: 
  • We re-use all kinds of stuff: paper towel or toilet paper rolls for kaleidoscopes or pirate spyglasses, magazines for pictures in collages, cardboard egg cartons make caterpillars, clamshells, baby chickens, or spiders.
  • Dollar tree and 99 cents only have great selection of craft supplies like construction paper, glue and glue sticks, googly eyes, jingle bells, pipe cleaners.
  • I try to make a batch of playdoh each month. I use glitter and food coloring to make the playdoh a little more fun. We use playdoh to crafts and creative play. I’ll post my Fool Proof Play dough recipe later this weekend.
  • Stuff around the house that isn’t strictly a craft supply can be used: cupcake liners make flowers or butterfly wings, q-tips, sponges (cut them up to paint), potatoes (stamping or painting).
  • Using stuff from nature: Henry loves the little “pokey balls” from the Chinese elms. Right now they are porcupine puffer fish, but in the past they’ve been all kinds of fun stuff. Paint leaves, use cat tails as paint brushes, gather small sticks and use them to make houses, stack them up, or paint them to use another time.


Making a better cup of coffee with the Francois et Mimi 50oz Glass French Press!

Zut Alors! I wrote a few weeks back about how you can save money by ditching the ‘Bux habit, but I wanted to share a few quick, easy coffee recipes with you using freshly brewed coffee. We ditched our Mr. Coffee a few years back and opted to embrace the French Press.

The great people over at L&Z and Tomoson recently gave me the opportunity to try out the the Francois et Mimi 50oz Glass French Press. For those unfamiliar with a French press, it looks like this:

IMG_2739It’s a glass pot held by a metal “cage” with a heat proof handle. The lid contains a plunger with a fine mesh to contain all of the grounds in the bottom of the pot (and not in your cup) once the plunger has been depressed all the way.

Making Coffee in A French Press is a cinch:

  1. Place 3 scoops of coffee grounds in the bottom of the glass pot.
  2. Heat water in a pot or tea kettle until it is VERY HOT, but not boiling (about 30 second from boil- if you are using a tea kettle to heat your water, you’ll get familiar with the “I’m almost boiling” gurgle. If you are heating water on the stove in a pot, you want the water to have tiny bubbles that have yet to “pop”).
  3. Pour hot water over grounds and put the lid on the pot, but do not depress the plunger.
  4. After about 4 minutes, depress the plunger and the coffee is ready to drink.

The Francois et Mimi French Press is awesome because it’s 50 ounces, while most French Presses are 12-20 ounces. 50 ounces is comparable to a standard drip coffee pot. That means the Mr. and I can actually share a pot of coffee without one of us sneaking back into the kitchen after the first cup and finishing the pot (Our former French Press was only 24 ounces, which makes about 2 1/2 coffee cups of coffee).

So now you know how to make coffee in the French press here are a few ways to fancy up your cuppa Joe.

Quick & Easy Misto (aka a Cafe au Lait)

Ingredients:

  • 20 ounces Hot Coffee (prepared however you like)
  • 1 cup milk (whatever kind you like, I prefer whole or 2%).
  • Sweetener, if desired
  • Ground Nutmeg or Cinnamon, if desired

Directions:

  1. In a heat proof cup, heat milk for approx. 30 seconds in the microwave.
  2. Froth milk in a Magic bullet, blender, or using an Milk Frother. This takes about 30 seconds. The more fat the milk contains, the foamer the milk gets. Fat free milk (either dairy or non-dairy) does not get too frothy.
  3. Pour Hot Coffee into your serving cup. Add your sweetener and stir. This is a great time to try a new sweetened syrup!
  4. Using a spoon, Push frothed milk to the side and pour milk over the coffee.
  5. Top with Foam if desired.
  6. Get extra fancy and sprinkle the top of the foam with nutmeg or cinnamon!
IMG_2740
Hot, frothy milk!
IMG_2741
The finished product, time for breakfast!


Quick & Easy Mocha: If you love a Cafe Mocha to start your day, simply add 2 T. of your favorite Chocolate milk mix to the milk before your heat and froth it. Follow the same directions as above.

If you like your coffee a little stronger, add an extra scoop of grounds into the French Press during the brewing process.

Because the French Press does not have a heat mechanism to keep the coffee hot throughout the day, you may want to pour the coffee into an insulated carafe.  Because there is no heating mechanism, if you make an iced coffee using the remaining coffee (if there is any!) later in the day, the coffee will not be thick, bitter, or tar like (think about the coffee in your work place break room about 3pm- EEK!).

Cooled/leftover French Press coffee makes GREAT iced coffee. Simply pour over ice, add any milk and sweetener/syrup you’d like and serve. YUM!

For an Iced Mocha, mix 2 T. of your favorite Chocolate milk mix to the milk before adding it to your ice and coffee.

I love the Torani Sugar Free syrups, they come in over 40 flavors and most of them are great in coffee. We like the following flavors:

  • Irish Coffee (it’s non-alcoholic)
  • Caramel
  • Hazelnut
  • French Vanilla
  • Brown Sugar Cinnamon (Takes just like a cinnamon Dulce Latte from Starbucks)
  • Almond
  • Pumpkin Spice
  • Coconut (it’s good in a mocha)


I want to thank the great people over at L&Z and Tomoson for the chance to review this rad French Press. I was not financially compensated to review these products, however I received a 50 ounce French Press free to facilitate my review. I only recommend products and services that I feel may be a good fit for my readers.

I’d love to hear about your favorite coffee recipes. Leave a comment and share how you dress up your Cuppa Joe!

Dial Miracle Oil Body Wash Review and Giveaway

Taking care of my family is important to me, so I’m always on the look out for new products, services, and fun stuff that can enrich our lives. Recently Purex Insiders offered me the opportunity to try out the new Miracle Oil Body wash from Dial. After doing a bit of research on the key ingredient, I jumped at the chance.

IMG_2719
The bubbly shot in the shower!

The “Miracle Oil” is Marula Oil, which comes from the  nut of the Marula tree. It’s found in several countries in Africa, and not only is it used in cosmetic preparations because it contains vitamin E, but also linoleic acid. Linoleic acid is a fatty acid that provides moisture for skin- it is readily absorbed by the skin, so it leaves the skin supple, not shiny and greasy (very important!).

Dial uses all of the goodness contained in the Marula Oil to formulate a body wash that left my skin soft, supple and moisturizer throughout the day. This new body wash is formulated with Micro Oil Technology for a luxurious, clean-rinsing lather that leaves skin feeling clean, soft and smooth.  It smells light and exotic, and the scent lingers all day. Lil’ Man told me, “Mommy, you have a good smell!” The scent is pretty unisex, so it’s great for the whole family, especially if multiple family members have dry skin (and with the cold this winter, I know we are all suffering!). I love that it makes so many lovely, rich, moisturizing bubbles!

Dial® Miracle Oil Body Wash is available at Target and other Mass Merchandisers. Insiders-Website_V1You can enter to win your own bottle!  I am giving away 1 coupon for a free bottle, so one lucky winner will get to try the exotic, moisturizing body wash.

To enter, check out the Rafflecopter widget below! Don’t forget to comment with your biggest skin care concern this winter to get your first entry in!

a Rafflecopter giveaway

The Dial brand provided me with a sample of Dial Miracle Oil Body Wash in exchange for a product review. However, all opinions expressed here are my own.

Essential Oils: Taking care of yourself naturally (and a review)

Having spent a few years as an esthetician, I’ve seen and heard of people using all kinds of weird things on their skin (like the lady who scrubbed her face with Comet and used Listerine as toner), but the one thing I’ve always recommended for most people is using Essential Oils in their homes for skin and body care.

Unfamiliar with Essential oils? Wikipedia defines them as, “An essential oil is a concentrated hydrophobic liquid containing volatile aroma compounds from plants.”

Very few oils are ok to use neat (straight out of the bottle), most need to be diluted with another compound to be safety used on the skin. I like essential oils because not only do they smell great, but many can help with health issues.

I wanted to highlight a few essential oils and give you a few ideas on how you can incorporate them into your life. Because you don’t need many drops for most uses, one bottle will last you a while. And most of the other ingredients for the recipes below include items that you may already have in your home! Thanks to InstaNatural and Tomoson, I was able to try Lavender and Peppermint  essential oils for free recently.

Screen Shot 2015-03-01 at 7.53.40 AMLavender: It is great for helping you relax, and to lull you to sleep.

Linen spray is awesome for helping you unwind after a long day. Spray your pillows and bedclothes about 20 minutes before bed. Take a few deep breaths when you get into bed and you’ll be sleeping like a teenager (we all know that babies don’t sleep well) in no time. I like mixing 20 drops Lavender oil with 1 part vodka (the cheap stuff or rubbing alcohol), and 2 parts distilled water. Pour into a spray top bottle (like these).

Relaxing body moisturizer is wonderful way to calm down a child that doesn’t want to go to bed. Just mix 3 T. of room temp. coconut oil with 10-20 drops of Lavender oil. Let the mixture sit overnight. Scoop out a little bit and work it between your hands until it’s melted and massage it onto your clean kiddo. I do this for Lil’ Man on those days when he just won’t go to sleep. I rub it onto his back, shoulders, and chest. By that time, he’s pretty calm and ready for bed!

The InstaNatural Lavender oil was very mild- Perfect for use right after a bath on Lil’ Man’s back and feet. He slept for 13 hours, I think that might be a new record!

After Lavender, my next favorite essential oil is Peppermint.  It’s very invigorating, and clean smelling.

Screen Shot 2015-03-01 at 7.53.50 AM
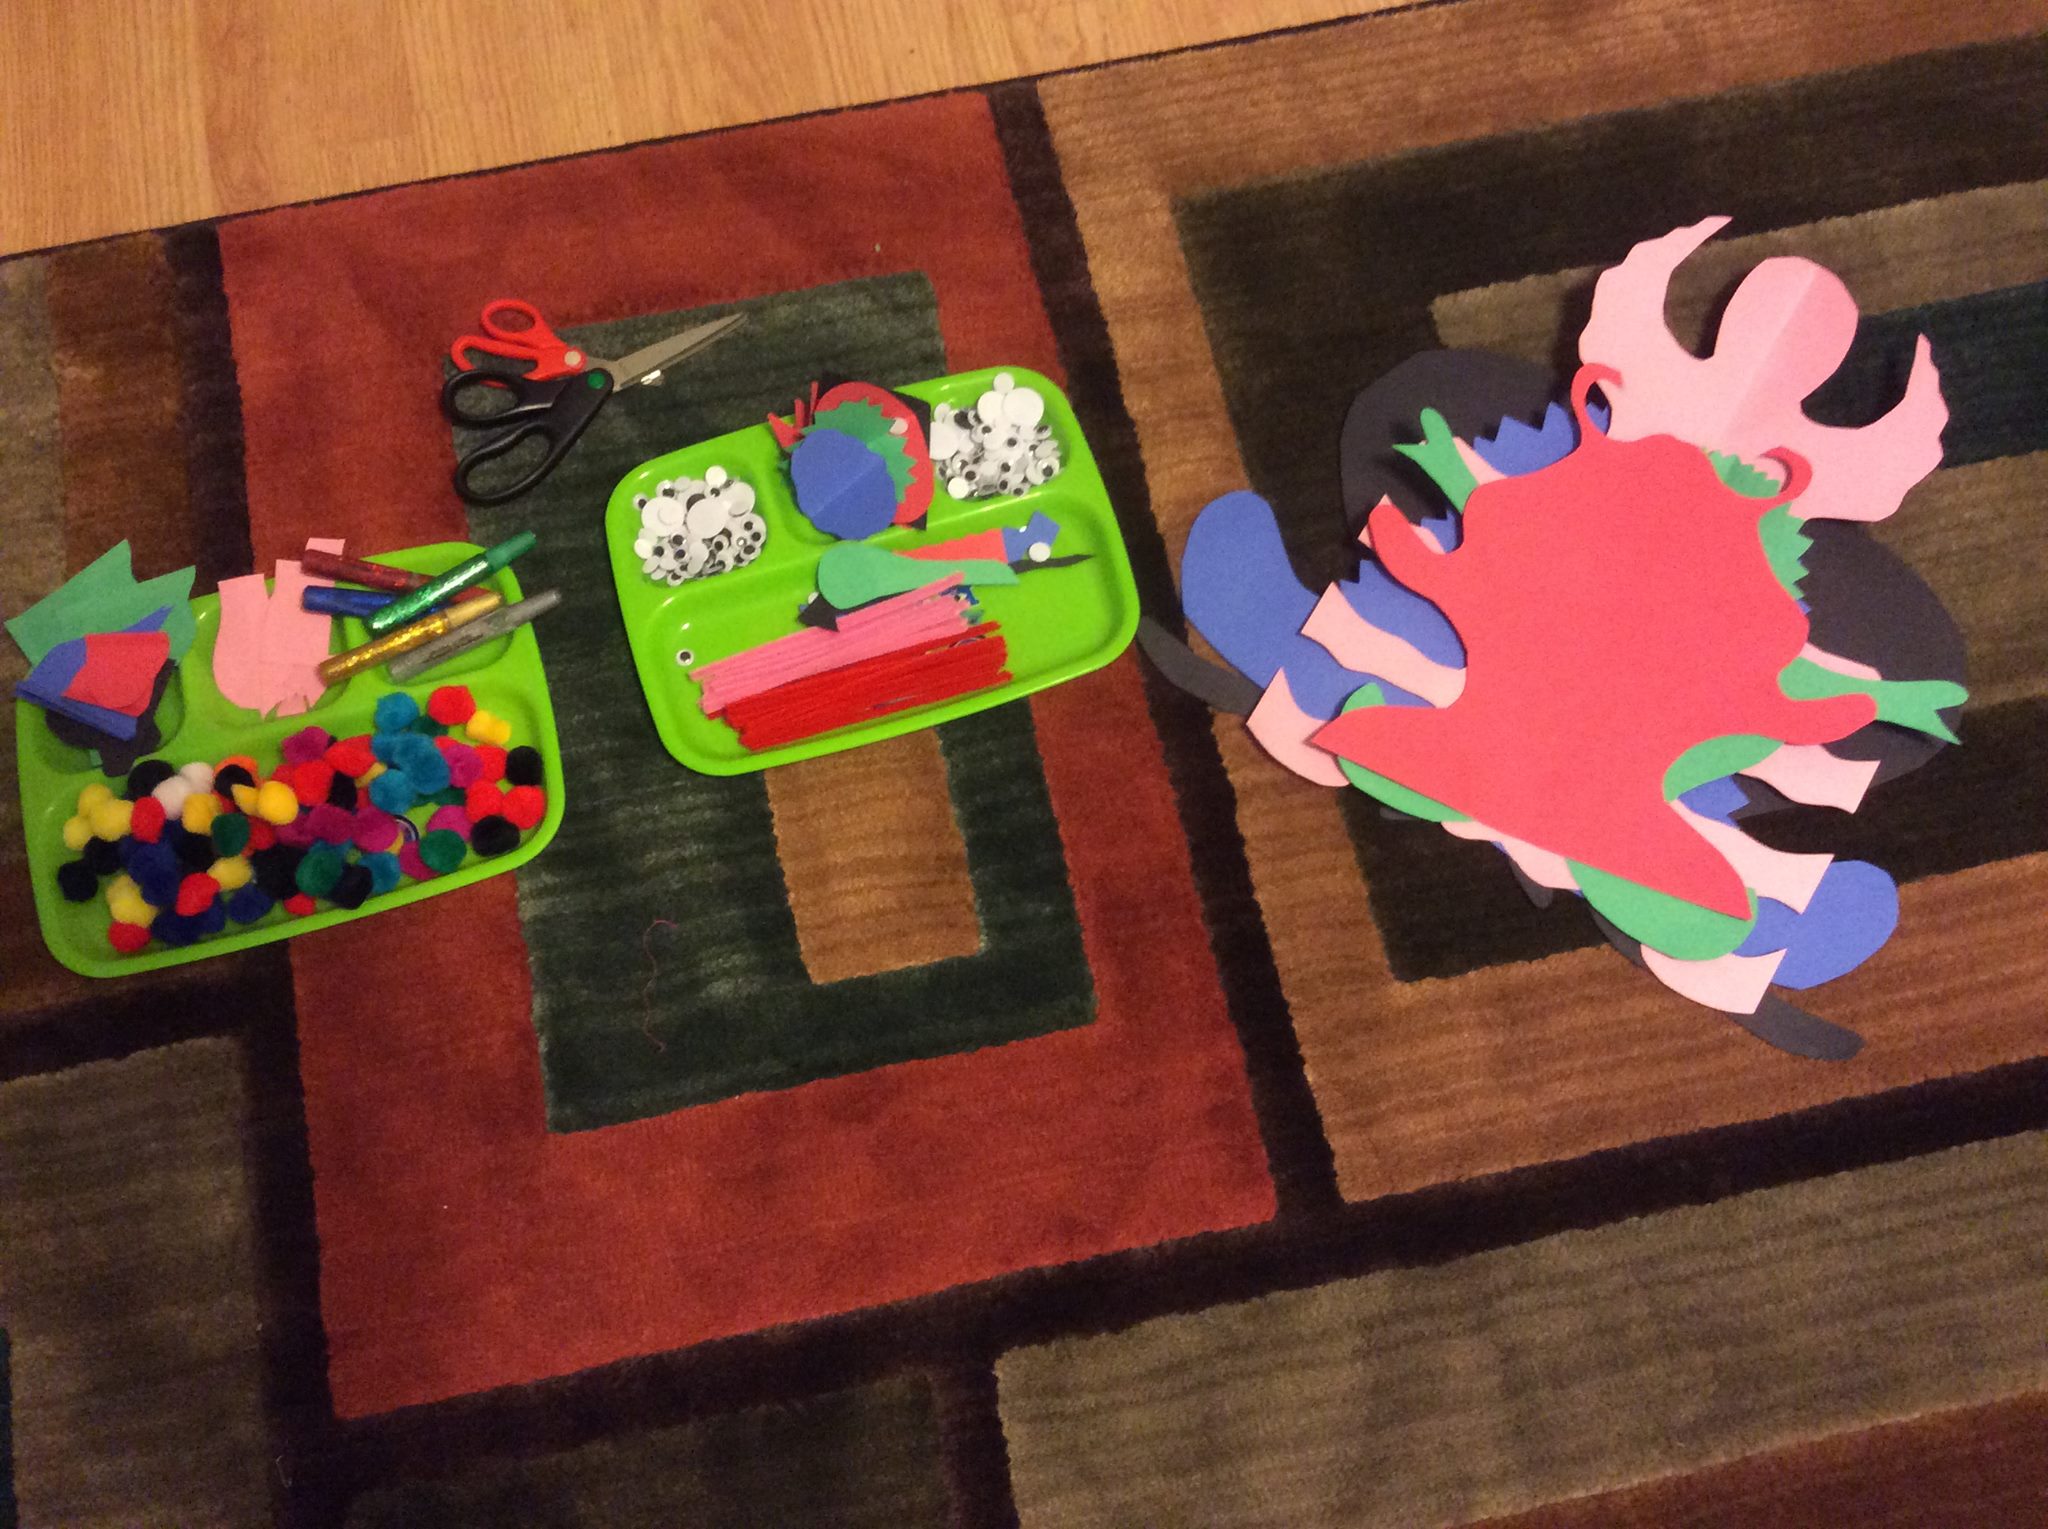
Body Scrub can be made with any Essential Oil, but I love using Peppermint oil. Mix 1 cup sugar (white or brown, your choice), with 1/4 c up of room temperature shea butter or coconut oil, and 20 drops of essential oil. Mix together and store in a jar with a tight fitting lid.  You can also use salt, but it’s a lot more abrasive.

Decongestant A simple DIY trick to help release that awful stuffy nose you or the kiddos have is to drop a few drops of Peppermint Oil into a diffuser (like this one) and breathe deeply. Peppermint oil really helps you breathe when you are all congested. You can also drop a few drops into a basin of very hot (steaming) water, put a towel over your head, lean over the bowl (using the towel as a tent) and breathe in the steam. You’ll be feeling better in no time! If you have very sensitive eyes or skin, I’d avoid the “steam tent”.

I used theThe InstaNatural Peppermint oil this morning! I whipped up a batch of peppermint scrub this morning, using kosher salt and coconut oil in a repurposed cream cheese tub. I’ll be using it to give my self a pedicure tonight. The abrasiveness of the kosher salt will really help exfoliate the dry, rough spots on my heels. I’m breathing clearly just from smelling the oil while mixing up my batch. I’ll report back with an update after my pedicure tonight!

I want to thank the great people over at  InstaNatural and Tomoson for the chance to review these essential oils. I was not financially compensated to review these products, however I received a bottle of each oil free to facilitate my review. I only recommend products and services that I feel may be a good fit for my readers.

It’s Yum Time- Easy Frittata!

Whomever coined the term “morning sickness” either had never been pregnant or couldn’t tell time. I’ve been really nauseous lately all the time, so I’ve been cooking a lot of dinners that I haven’t been eating. Most of my evening meals have comprised of cold cereal and a splash of whole milk.

However, I made an awesome, easy Frittata last night that smelled so good, I actually ate about a quarter of it.

I love making Frittatas. They are super easy to make, and you can use basically anything in your kitchen. Veggies, cheese, and protein of any type. Frittatas are gluten free, and can be made vegetarian (but not vegan, since they do have eggs as a major ingredient).

Here is the recipe that I cobbled together. I didn’t write anything down, I just rummaged through the fridge and pulled out stuff that looked good together. I chose the yellow potatoes because when they cook, they have a rich, creamy texture without adding tons of empty calories (Potatoes are high in potassium, which his mama needs to keep the charlie horses at bay).

Easy Frittata (serves 4-6)

Ingredients:

  • 6 eggs
  • 3/4 cup Milk (use whatever kind you normally use- soy, cow’s milk, whatever)
  • 1/2 lb turkey sausage (or your fav. breakfast sausage)
  • 2 T. butter, divided
  • 8-10 small yellow potatoes, chopped into small pieces (you can leave the skin on)
  • 1 16oz bag of peppers and onions
  • 1T minced garlic
  • 1 ripe tomato, roughly chopped
  • 1 cup sharp cheddar cheese, shredded (If you are watching calories, opt for a low cal. cheese)
  • salt, pepper to taste
  • Olde Westport’s Gold Coast Garlic Shake or your favorite garlic powder to taste

Directions:

  1. Preheat oven to 350 degrees.
  2. In a medium mixing bowl, whisk the eggs, milk and salt and pepper. Set aside.
  3. In a large oven proof skillet, cook sausage per package directions. Once sausage is cooke, remove from the pan, chop into bite size pieces and set aside (You can also use pre-cooked sausage- just heat it up and cut into bite sized pieces).
  4. Deglaze the pan with a scant 1/4 c. water. scrape the yummy brown bits off the bottom of the pan.
  5. Add the potatoes and 1 T butter. Cook the potatoes on medium/low until the potatoes are “al dente”.
  6. Add the remaining butter, garlic, and the onions/peppers. Continue to cook on medium heat until the veggies are soft, about 10 minutes.
  7. Remove from heat, add the sausage back into the pan.
  8. Pour the reserved egg mixture over the veggies, and sprinkle with a touch of garlic powder (if desired).
  9. Top with the chopped tomatoes and cheese
  10. Place the entire oven proof skillet in the oven, bake for 20-30 minutes, or until the eggs are set.
  11. Serve right away with a small green salad or with fruit. I love frittata topped with fresh salsa and a little plain greek yogurt or sour cream.

And here are some shots before we demolished it. If you can’t eat it all in one meal, you can always stash the leftover in the fridge and eat it cold, or re-heat it in the microwave. It’s good for breakfast too!

IMG_2698
Notice all the yummy veggies!!

IMG_2699