 I know, I know. It’s hilarious to think that you should clean an appliance that is designed to clean, but really, if you think about it, if a vacuum cleaner is clogged with dirt and hair it can’t do its job.
And that sucks (see what I did there?).
After reading the manual that came with our vacuum, I set to work.

First, I took the canister off, dumped it in the trash, removed the filter, and washed them both. I used the blue Dawn dishwashing liquid. For the canister, I used a brush like this.

Then I removed the brush housing assembly, removed the soleplate, and clipped the hair and thread off the beater bar (that’s the thing that goes round and round and has little brushes on it). Once the beater bar was clean, I washed the soleplate and brush housing assembly.

I used a smaller brush like this, and also a straw cleaning brush to get into the tiny nooks and crankies. I think for next time I’ll be ordering a set like this:

After everything was clean (it took about an hour, that included interruptions from the kids who needed snacks, cartoons, etc. And of course, the cat was starving and needed food RIGHT.NOW), I set them out on the patio bench on an old worn out towel that I use for cleaning. 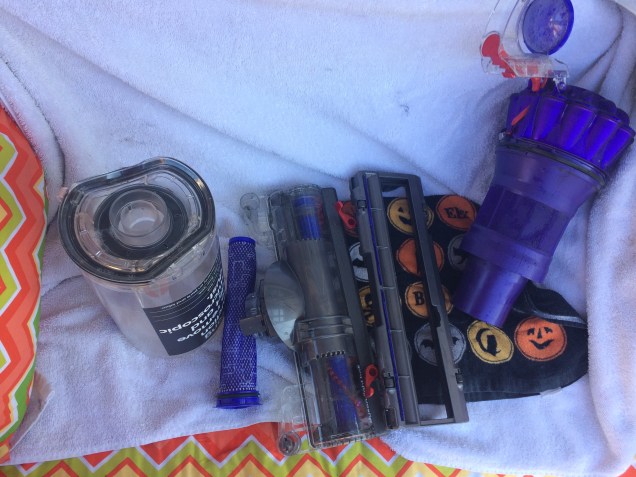
The next day everything was bone dry and I re-assembled the vacuum cleaner and took it for a test drive. It was like using a brand new vacuum!
I clean my vacuum about once every six months. It helps keep it in good running order, which means it will last longer. Our previous Dyson lasted us 11 years, and I’d love for this one to last at least 11 years!
If you want to try it, I recommend that you check the owners manual for tips and instructions!
